A Year in Photos

Photography, fiction, and personal essays form my three primary creative outlets. For this blog's first 18 months, I used it primarily for photography. As I've returned to creative writing, I'll use this blog for fiction, too. Sometimes, when reality needs to be discussed more than truth, I write personal essays.

This blog will continue to showcase as many above-average photos as I can muster. Hopefully my written work will be as good or better than the visual. Whichever drew you here -- photographs or fiction, I hope you enjoy both.
Showing posts with label Filter Test. Show all posts

Monday, February 27, 2012

How Filters Work: Part 2

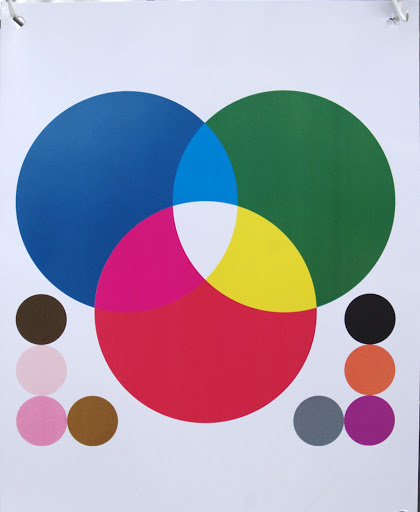
Yesterday we examined how filters effect monochrome film. For today's entry, I set my Pentax K-7 on monochrome and shot the same series of photos. For reference, here again is the test chart used for these experiments.


The K-7 images, firstly, are much crisper than the RT's. The K-7 I focused manually using a manual-focus Sigma 35-80mm lens. This lens is VASTLY superior to the kit EF lens on the RT. Also, the K-7 has live view, allowing much more accurate focusing.

For each of these pairs, I'll first post the film copy from yesterday and then the K-7 copy. We'll then examine how they're different. First, no filter.
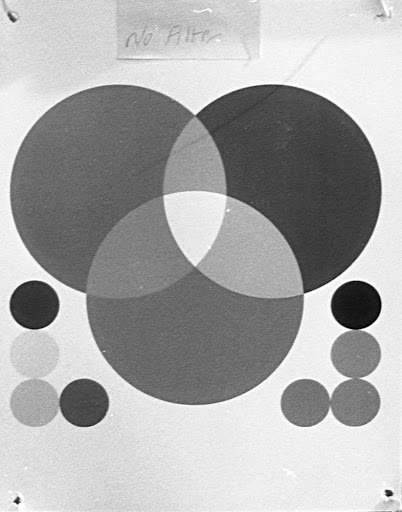


Firstly, you'll notice that in monochrome the K-7 sees red and magenta as the same. Green and blue it also sees the same, or close. Compare that to the Agfa film, which sees red and blue the same and cyan and magenta in similar fashion. This relates directly to how CCDs see light versus how film sees light. CCDs capture light in pixels. The pixels themselves do not see color, only shade. So each pixel has a red, breed, or blue filter over it. The amount of light penetrating the pixel tells the camera how dark or light the subject is. The pixel's color filter determines the color and the camera registers that. So a pixel with a red filter will always see a red dot. The variations between pixels determines the final image.

Another type of digital sensor, used by Sigma in their S1 for instance, has three layers of pixels. Light penetrates silica at different depths for each wavelength, so if light hits a pixel, then the pixel tells the camera what color to make the dot. Light penetrating all three would be white. Light penetrating only one would be, I believe, blue. This is close to how actual color film works and the samples I've seen show that this technology needs fewer megapixels to achieve superior resolution. Sigma, I believe, say that their S1 compares with competitor's camera of twice the megapixel resolution.

So, let's begin comparing how the K-7 sees monochrome differently than the Agfa film with various filters.
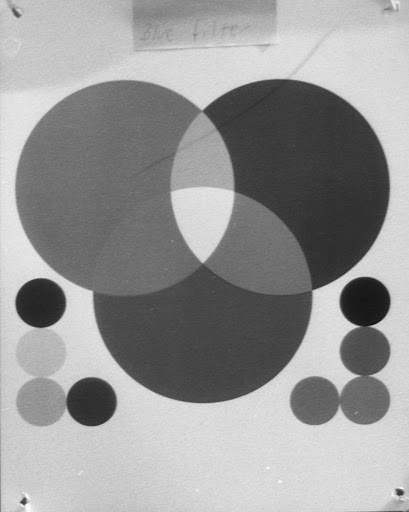


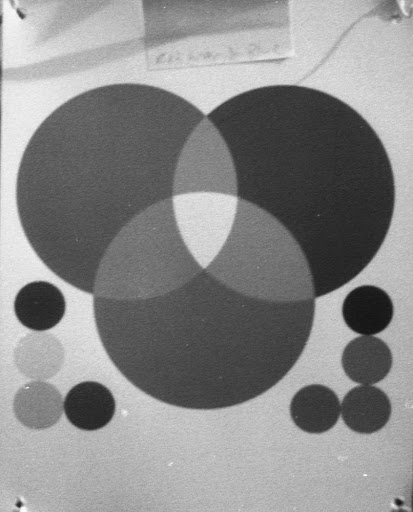
Here the K-7 shows the red and blue being the same basic tone while the magenta is now lighter than red. This is because magenta, having some blue ,was somewhat lightened by the blue filter cutting out red wavelengths. On film, this is somewhat more pronounced.

Green filter.
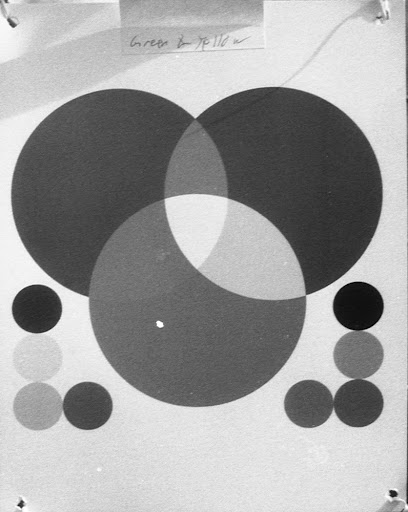


We see here, again, differences in the shades between colors on film versus digital. Digital again sees red and magenta the same and blue and green approximately the same. This tells us that the CCD sees blue and green as similar, perhaps identical, wavelenths in monochrome. This will be more well illustrated later when we use these images to create a color-separation recreation.

Orange Filter
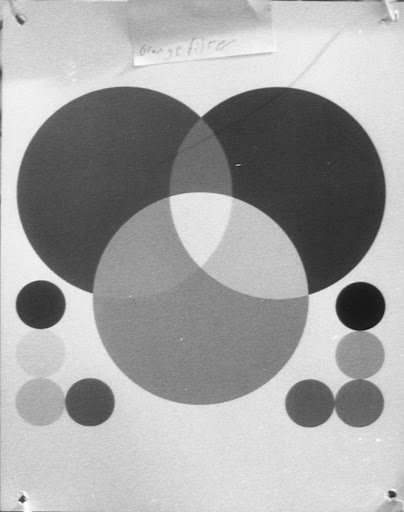


This test shows us that the K-7 again sees red and magenta as the same with orange filtration. This is the same for both film and CCD. The notable differences are between the blue and green darkness, and the yellow's brightness. On the CCD, yellow becomes almost white. This is because the CCD cannot actually see yellow, whereas film can. Note that on the film image, there's a difference between the yellow and white. The CCD sees yellow as a combination of red and green. But the wavelength is close to orange. However, why the CCD lightens yellow mystifies me. I would have predicted the opposite since the filter should reduce, substantially, the amount of green and red light reading the sensor.

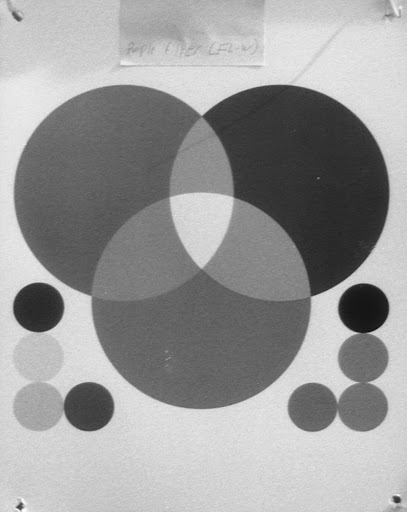
I'll skip the purple filter because it's not a contrast-enhancing filter. And it's silly.

Red filter
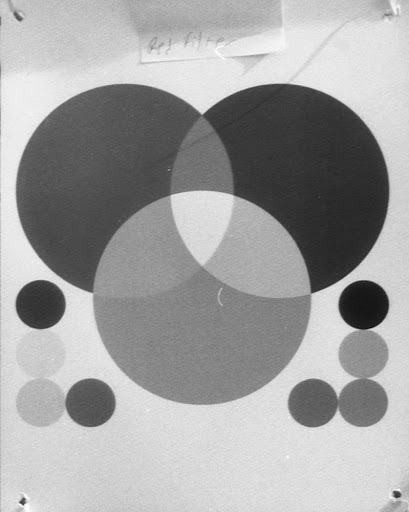


Now here we see some action. The red filter on the K-7 does exactly what its supposed to do -- darken blue and green. The Agfa film records blue and green as darker, but not as much. To understand why the red filter has such a profound effect on the CCD as compared to film, we need to understand a bit more about HOW the CCD works. Digital camera sensors, as noted above, are made of a checkerboard of red, green, and blue pixels. There are more green than red or blue and the sensors are calibrated to green light. Because of this, CCDs are more sensitive to a lack of green light than any other spectrum. As for blue being darkened, blue light is particularly darkened by red filtration and so all the blue pixels register less light, ergo are darker. Because film sees all light in different ways, it is less susceptible to prime-color filtration (in this case red) than is the CCD.

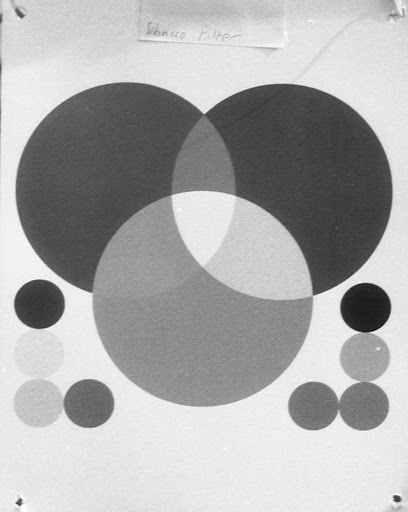
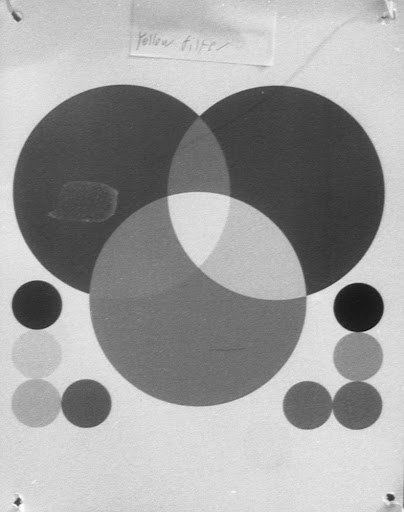
In the interest of time, I'll bypass the tobacco and yellow filters. The tobacco filter worked like a light-red filter, which makes sense because its probably just red and green mixed. The yellow had a minimal effect on the CCD, a more noticeable effect on the film. Again, this makes sense in light of the above explanation of how a CCD works. So let's end with an experiment in color separation printing.

Color photography predates color film substantially. By taking three images, one with each prime color photograph, a crafty photographer can make a color image. This works because when one filters red, the film registers near-white for red. When one filters blue, the film sees blue as near-white. A green filter makes green appear near-white. So, take a negative with a substantial near-white area of red, reverse that negative to make that area near-black, and then change the blacks to red and the negative displays the light present in the red spectrum. Repeat the process for blue and green and one can make an RGB print. In this case, I used the process to make an RGB negative. First, let's see how the original test chart looked again:


Now let's see how the color-separation recreation looks.


Bear in mind that this is based on a series of digital images and results from a process not truly suited for color separation work. Actual color-separation work requires specialty, high-contrast film that records in 'on', 'off', and very few or no shades in between. This recorded various gray shades, resulting in some differences in hues and tones. I had expected green to be the most faithfully recreated in this process, but surprisingly the result shows that the blue filtration was very effective on the CCD. Also, the red filtration worked... kind of.Maybe a darker red filter (this cheesy red filter is pretty light) would have had a different or better result. The yellow and tertiary colors were not as well reproduced as the prime colors, however.

Part of this imperfect result may be because the test chart was printed with a CMYK printer. But honestly, these results are better than I expected for demonstrating a concept.

Sunday, February 26, 2012

How Filters Work: Part 1

Monochrome photography benefits greatly from filtration. But filters present a problem, too, in that they can increase glare and reduce image quality. Low-end filters, made of plastic or plexiglass, especially reduce image quality. Basically, using cheap filters on a nice lens cripples its performance, like putting a quarterback in a cast. Good filters can be $50 or $75 for a basic ultraviolet filter. Polarizing filters, $200. That said, I don't have any super-nice lenses, nor am I sitting on any $200 filters. I do have a set of filters I bought on eBay for $15 from a seller in China. They are of such poor quality that the dye job on the blue filter is not even consistently dense. That said, the results below are not going to be as dramatic as could be achieved with good filters. Also, the results below are simply for illustration of basic function. That's why they're a fairly boring image repeated over and over.

Firstly, here is the test chart I used for these samples.


It's important to understand how this will look rendered monochrome.

This was taken with Pro Max 100 ISO film. Now, had I known last week what I know today about Pro Max, I would have used something else. Pro Max, apparently, is rebranded Agfa. Agfa stopped making film in 2004, but apparently the company they used to make Agfa brand film still makes the same film for resale as generic brands.

All monochrome films see color. A monochrome film's ability to see color is called the spectral sensitivity. In fact, most films have spectral sensitivity charts posted online somewhere on the manufacturer's websites. Here is a link to a PDF for a film I'm fond of: Ilford PANF 50 ISO. The first page of this PDF has the chart you'll want to at least glance at before reading further.

So let's understand exactly what Ilford tells us here about their film:

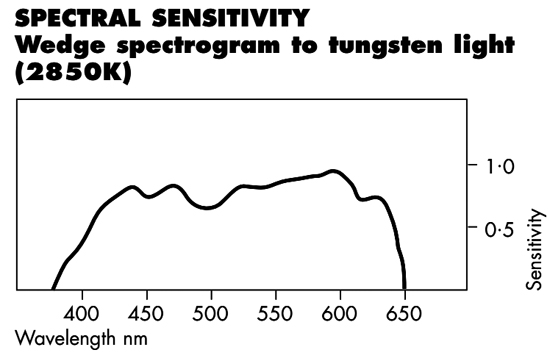
I've reproduced (without permission but also hopefully without hurt feelings) Ilford's chart. This chart does not tell the whole story and you should visit Ilford's website and use their guidance when you use this film. That said, the numbers along the bottom are light in wavelength. The levt side, up to about 320 nanometers (nm), is ultraviolet. That's light that we can't see, neither can this film. In fact, UV light can't really penetrate glass. So those UV filter, they provide no additional benefit for your images.

PANF 50 begins seeing light in the dark-blue and violet range. It sees light up to the reds, the 600nm range. Infrared, which humans can't see, begins with near-infrared light at about 680 or 700nm. So this film also cannot see infrared light. The peaks and valleys along the spectral sensitivity line tell you how much each color registers on the film. The higher the peak, the lighter more sensitive the film is to that color, the lighter it will appear on the film. So this curve tells us that if a field of light, from left to right, from 300nm to 800nm were projected at the film, that it would see from dark blue up to red. Further, this tells us that dark blue and dark red would be the darkest shades. Green (500nm) would be the darkest of the middle tones. Orange (600nm) would be the lightest. We see that because the height of the line on the chart correlates to how close to while the film will see a color.

Note that all films have different spectral sensitivities. That means that the same film camera can shoot the same scene a dozen times in a day, each with a different film, and get a dozen different results. Well, that's one advantage for film over digital -- a film camera is as versatile as the film inside it. A digital camera is bound by it's sensor's parameters.

So how this effect film when used with a filter is thus: A filter cannot add light, but it can block light. A red filter is not a red-adding filter, but an everything-but-red-cutting filter. That means a red filter allows red light through but blocks blue, green, purple, yellow, and orange in varying degrees. The amount of non-red light a red filter cuts depends on filter quality, tone, density, dye composition, and so forth. Lots of factors that are too specific for this general conceptual discussion of filters. For this post's purposes, understand that colored filters allow their color to reach the film but prevent other colors.

How does this affect monochrome photography, though. Looking at the spectral sensitivity chart above, adding a red filter would suppress all the wavelengths left of about 625nm. Therefore their curves would be pushed downward. On film, everything not red would appear darker. The further from red that color is, the darker it would appear. Blues would be near-black. Greens, dark charcoal. Yellows, darker gray. Orange, less effected but still darker. Reverse that and put a blue filter on, you'll have near-black rendition for reds, darker oranges, gray yellows, and less-effected greens and purples.

So let's see this in practice. Here again is the test chart without a filter.


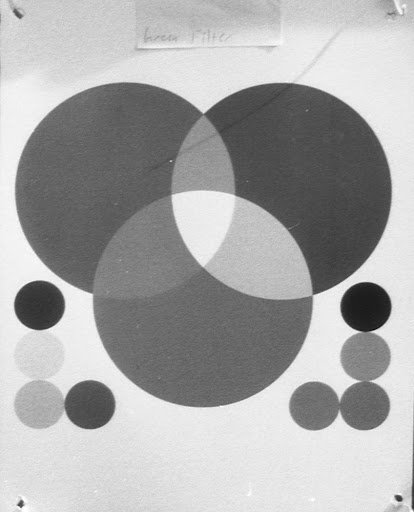
You'll first notice that it appears to have greater contrast. It does. Notice next that the blue and green are much darker than without a filter. The red filter I used is more of a magenta-ish color, so it does not affect blue as greatly as it should. Comparing the two charts, you can see how the color tone is altered between the two images.


Here the blue filter has made the green darker and the cyan near-white. That's because this blue filter is particularly light colored (and generally poorly dyed.)


And here is a green filter test shot. You'll see a variation on a theme here. Also, these represent the three prime colors for light -- red, green, and blue. Other colors, obviously, compose the visual spectrum including yellow, orange, purple, and brown. The next images show the chart rendered through various non-prime colors.


Orange filter


'Tobacco' filter
This filter is actually an 'artistic' filter meant to give a quick and dirty sepia cast to color images. God only knows why it's on a rotating base. Man that makes it hard to get off a lens.


Yellow filter


Purple (FL-W) filter
This filter is actually used to correct color cast in fluorescent light. Basically, daylight color film can't be used in fluorescent light without casting everything in sickly green. Slap an FL-W (fluorescent white) filter on, and outdoor film can be used indoors. It's not really a color-correcting filter for monochrome photography.

So you can see, scrolling through the images above, that filters change how monochrome film sees colors. What does that mean in practical application, though.

For decades during early photography, the sky rendered white and only white on film. Cloud photography was impossible. Then came yellow, orange, and red filters which darkened blue hues in varying degrees. Red, of course, provided the most dramatic effect. This led to images with dark skies that fundamentally changed how photographers approached including the sky in their images.

Colored filters also allowed for early color photography though a process called color separation. We'll look at that tomorrow in Part 2 when we repeat this experiment with a DSLR. Do CCDs see color differently than film? We'll see.

So colored filters narrow the wavelength band reaching the film. By separating a real-life scene into the various wavelength bands, photographers captured the first color images and printers created the first colored prints. The process is not dissimilar from a color laser printer where a sheet of paper passes under four toner drums -- cyan, magenta, yellow, and black. Each drum prints only part of the image, leaving everything that is not the drum's color blank. Color separation photography and printing work the same way. Three photos taken with three filters -- red, green, and blue. Each negative is printed on the same paper with the corresponding color. In fact, tomorrow you'll see a color-separation recreation of the test chart above. If nothing else, it demonstrates how cruddy these filters are.

So with that demonstration, let's conclude for today by looking at what happens when we combine filters. Imagine, first the result. Light encounters a blue filter. Much of the non-blue light bounces away. Then it encounters a red filter, blocking again much of the non-red light. So greens and yellows ought to be dark black. Reds and blues ought to be the same basic tone. Let's see.


That is about what that looks like to me.


A green and a yellow filter


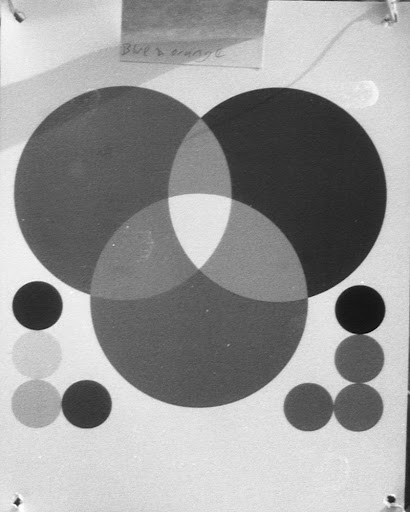
A blue and an orange filter