A Year in Photos

Photography, fiction, and personal essays form my three primary creative outlets. For this blog's first 18 months, I used it primarily for photography. As I've returned to creative writing, I'll use this blog for fiction, too. Sometimes, when reality needs to be discussed more than truth, I write personal essays.

This blog will continue to showcase as many above-average photos as I can muster. Hopefully my written work will be as good or better than the visual. Whichever drew you here -- photographs or fiction, I hope you enjoy both.

Monday, December 26, 2011

Pentax K1000

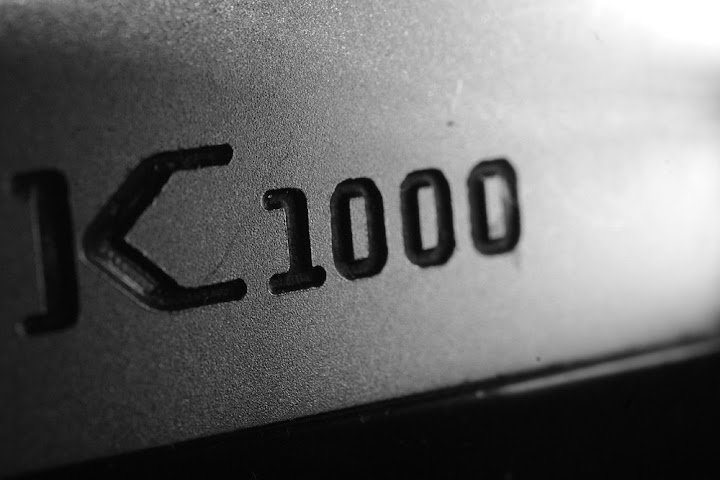
Pentax produced the K1000 for 21 years -- longer than any other model camera in history. In sum, multiple million K1000s came out of factories in Japan, Hong Kong, and China. Aging a K1000 presents a challenge, but telltale manufacturing marks help identify the age. With a 21-year production run, some changes occurred.

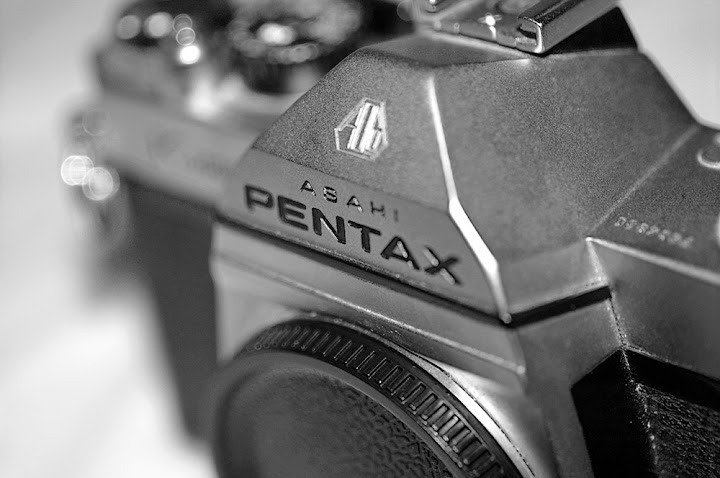
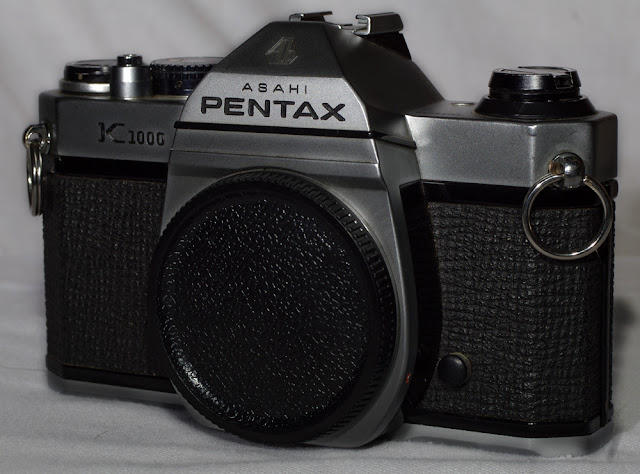
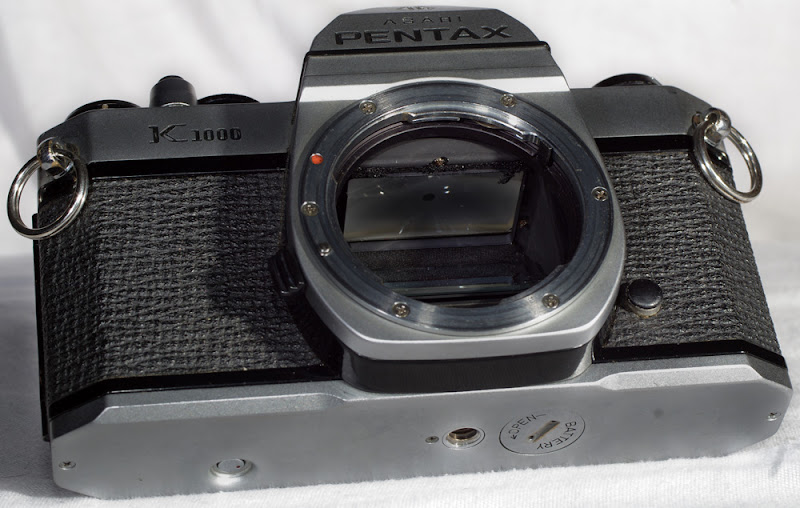
Original K1000s were branded Asahi Pentax and stamped Asahi Opt. Co. on the back below the film advance lever. New K1000s (the Chinese-made units), lacked the AOCo logo on the pentaprism (above the words Asahi Pentax.) Chinese-made K1000s, which came from the Chinon factory, also had plastic bases and came in all black. The Chinese-made cameras also state Made in China on the base plates.

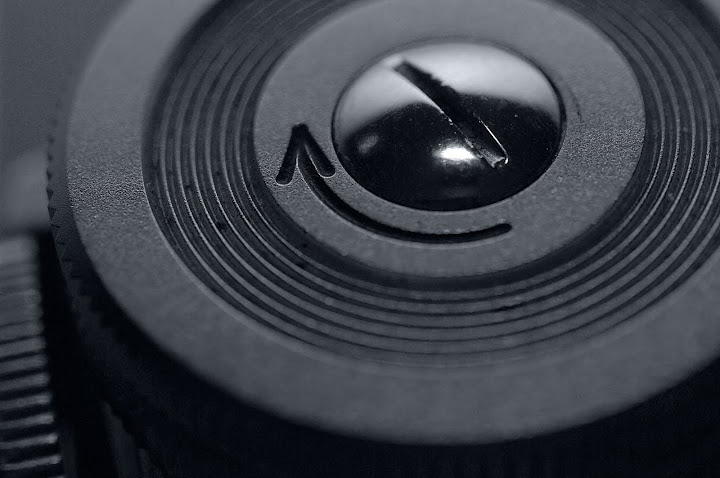
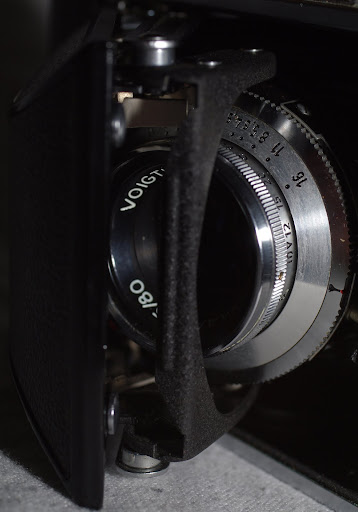
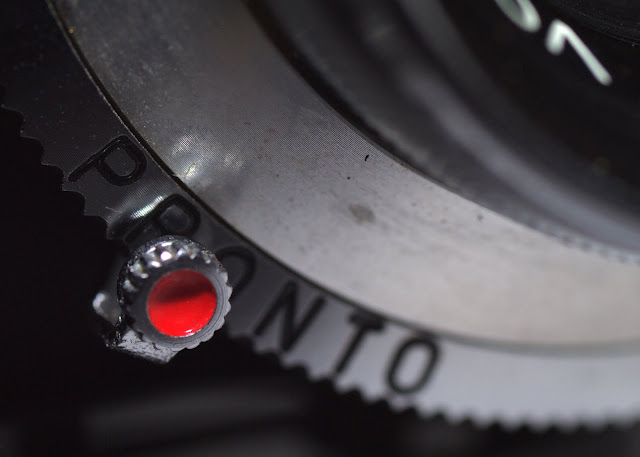
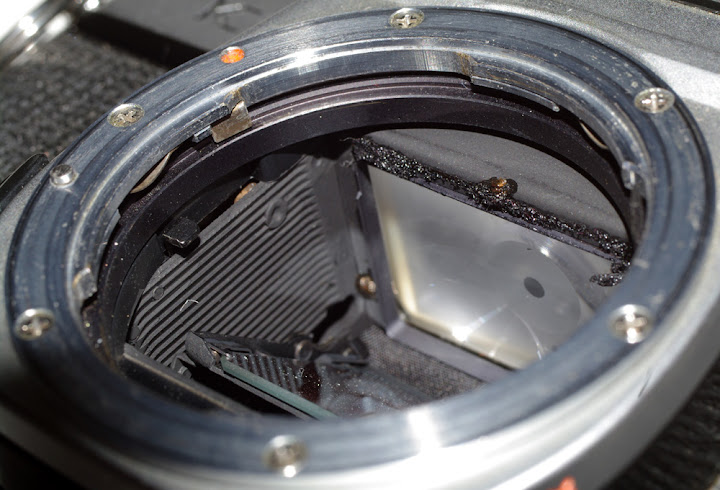
My K1000 has some manufacture hints that help determine it's age. 1- The battery cap is a screw-in, not a bayonette. The serial number is on the top and near it a raised bump. There is no stamped country of manufacture, indicating it had been on a sticker when the camera was new. The pentaprism has the AOCo stamp. The fresnel is only a microprism, no split-image focusing screen.
The Pentax Forums users expended substantial effort to compile K1000 serial numbers and data to develop what I believe is a reliable table showing when K1000s were manufactured. If you have a K1000 or are curious, check it out here:

http://www.pentaxforums.com/forums/attachments/pentax-film-slr-discussion/72918d1286730888-k1000-serial-number-database-k1k_order.pdf

This indicates that my camera, serial number 7634930, was part of the first production run between 1976 and 1978. I have always suspected, based on design and weight, that I have an early K1000 that is within a year of my age. In addition, I got the K1000 in 1991, so it had to have been made earlier than that.
Today, many original K1000s still run because Asahi designed it for mechanical simplicity and reliability. This reliability sacrificed some features, however, including a self time, depth of field preview, and mirror lock-up mode. However, these absent features also enabled students to learn photographic fundamentals and advanced photographers to control every key element of obtaining a photograph.

The K1000 entered production with three other cameras, the KX, K2, and KM. The K1000, the most basic of these, sold for a few hundred dollars early in its production run, a price which changed little over its lifetime. Of note, in the late 1970s, $300 was much more than today and the K1000 represented a substantial investment, despite being an affordable camera option.
Nikon and Canon beat Pentax to the bayonette mount revolution, but Pentax, arguably, did it best. Any K mount Pentax can use any K mount Pentax lens. Some of the most recent K mount lenses are gelded, so they present limited usability. In addition, many third-party K mount lenses can be used (though some require minor modification on newer cameras.)
My K1000 was my first SLR and still the one for which I have the most affection. My Nikon F3 may have more functions, my Canon RT and Nikon N70 may have more modern features, and my Nikon FTN may be my most durable, but my K1000 was the first and still the simplest. It is one of millions but remains an impressively useful, reliable, and steadfast camera ready to perform and capture high-quality photographs any time I grab a lens. For those of you new to photography or interested in a trying a different camera, seriously consider the K1000. It will help connect you with photography's manual roots, roots which will allow you to control and finely craft precise pictures.

Sunday, December 25, 2011

Union Square, San Francisco, 22 December 2011. Pentax K1000, Tokina 28mm, Ilford PanF 50 ISO

As I posted yesterday, I'm going to try and do something with this blog this year. For my first post, I'm going to look at my photos from 22 December 2011 and discuss how I achieved various effects (not that the answer will typically be luck.) In terms of Photoshop, I will limit post processing to contrast balance and gamma (contrast) enhancement. Anything more intense will be noted. For this blog, we'll look at some photos from this album:https://picasaweb.google.com/102333270936007447976/SF122211


for this trip, I used a Pentax K1000, Tokina 28mm lens with a green filter, and Ilford PanF 50 ISO film. PanF 50 ISO is the slowest monochrome film available, meaning the exposure times are relatively long (up to 1/15th of a second in sunlight.) Since I don't typically carry a tripod, that meant holding my camera very still. This first shot, inside Westfield Mall, was a 1/4 or a 1/8 second exposure, hand-held, braced against a column.

Ilford PanF 50 is a high-contrast film with little or no use forgiveness. Errors are amplified, but so too are photo qualities. This shot achieved a reasonable tonal balance despite the bright center and very shaded periphery. To enhance this shot, I used the magic wand grabber in the center (sensitivity 55) and feathered the grab at 65 pixels. I then pasted the grab and dropped the gamma to about .15. From there, I made the layer opacity about 55% to bring out some of the center areas tones. The grab was just the white oval in the middle, none of the levels.

While in union Square, a contortionist troupe performed a series of hip-hip-ish moves that combined beautiful movement with grotesquery. Turning arms on the horizontal axis, shoulders that looked as though placed by blunt force, they twisted like bottle corkscrews. These shots were all wide open (f2.8) at either 1/30th or 1/60th of a second.

The green filter darkened this performer's hair, which was bright-cherry-red. In Photoshop, I added gamma to his torso to amplify muscle tone. The process was similar to that described above, but with 75% opacity.

A better vantage point would have been about 1.3 the circle counterclockwise to prevent the sun from throwing off the K1000's meter. A problem with wide-angle lenses, they accept more light than reaches the film plane, which affect through-the-lens metering. With ultra-wide-angle lenses, such as an 8mm or 10mm fisheye, photographers need to stop down the lenses up to two full stops to compensate for light affects on camera metering.

In addition to shots which worked, many of this roll's shots failed. The usable album (the link above), presents 12 photos. The roll, 27 exposures, yielded 15 failures not worth scanning and uploading. Some were salvageable, though, these next shots will show how to take failed exposures and return reasonable results.

This shot was more than 60% washed out. The general grayness in the negative space (white area) indicates that the shot's overall exposure was dropped in Photoshop. In addition, three time I magic wanded the white space (sensitivity of 55) and feathered the margins (95 pixels, 65 pixels, 45 pixels) and pasted the new layer. Each time I dropped the gamma to .2 or .3 and the opacity to 45% or less. After each layer, I flattened the image to facilitate the repeated process. At the end, I did an auto contrast and called it a day. The result is not spectacular, though. Fortunately, it wasn't a very good shot anyway.

This shot had a few flaws. The whole shot was whitewashed like a picket fence, which required three or four gamma-drop layers. The light post was exceedingly dark, so I copied it (magic wand and feathering, as described) and increased the gamma significantly. Making the opacity 50% made the lamp post details pop pretty well.

An aesthetic decision, the lamp post had a no parking sign. I copied a segment from above, pasted it over the sign, and then did a free transform process to make it the same width and alter the skew slightly to keep the lines in parallel. If you look very closely, about 1/3rd of the way up the lamp post, you can see where the two layers met and don't match quite perfectly (check the right side.)

More to come soon!


Saturday, December 24, 2011

One Camera, One Lens, One Roll of Film, 365 Days

A few months ago I accepted a job in San Francisco. This affords me about 45 minutes per day to stroll my neighborhood and photograph the city. I've done nothing of consequence with this blog, so for 2012 my goal will be to take a different camera, lens, and film combination to the city. Each weekend I'll develop the film and blog about the results. Insomuch as possible, I'll list the shutter speed, aperture, and any special photographic considerations.

This year's goal will be to expand appreciation for film photography and, with luck, help preserve an art form that is at serious risk. Previous art forms have lead to new art form, e.g., painting to photography. Film photography has led to digital photography. Had photography killed painting, people could make their own paints at home and continue the art. Film cannot be made at home and if film production ceases so, too, will an entire art form. I can think of no other art form that could become extinct and never be practiced again.

I'll provide a background blog about each camera (sometimes after that camera is used) and, when possible, about the lenses. If the film is noteworthy, I'll discuss it, too. With luck, in a year, we will both know much more about film photography and how to capture exceptional images.

Tuesday, July 19, 2011

Voigtlander Perkeo 1

So I started this blog right before the busy season in my profession. Until the U.S. government's fiscal year end in September, I'll be pretty busy. So in-depth lens and camera reviews will have to wait. In the interim, here is a post with pictures of an old-timey camera I picked up over the weekend.

The Perkeo 1 is a 120mm folding camera that will be tested in a week or so when my film arrives. Ther Perkeo series consisted of three models, the 1, 2, and 3E. The 3E was the highest-end. I don't know all of the differences, but in general, cameras of the Perkeo's era had better lenses on the higher-end models. Some had other features, such as additional view finders or other doodads.

Without further ado, here are some photos of the Perkeo 1. For the whole set (61 shots), follow this link:


This is the Perkeo and its case, which is in pretty good shape, too. Cameras today, they're all function and glitz -- no design compassion. I want Ikea to design a camera. It will be simple, trendy, and made of paper.

Two small rubs on the front, a small dent on the top only perceptible in certain lightting, and dirt on the viewfinder -- these things alone show that it was not in its box yesterday.

The red plastic on the back is curious. I had thought any kind of light exposed film, yet this is the only way to accurately track film placement -- no counter.

Modern cameras lack something. It manifests as an absence of precociousness, unpredictability, and mechanical quirkyness. In short, modern cameras lack the old-timey cameras heart, their soul. Modern cameras are like a reliable Corolla or Civic whereas old-timey cameras are like a mid-eighties Alfa Romeo. Sometimes it may work, sometimes not, and there's never any real reason either way.

Here is the bellows unfolded from the inside.

The camera, unfolded, longing for film as a mitt longs for a ball. It cries out "Look at me; I can still take pictures. I can still focus. I can be relegated to someplace other than your garage. Please, someone, love me."

And now some artsy macro shots:


Monday, June 27, 2011

Introductory Post

What is bokeh and what is this new blog?

Bokeh describes the shape of blurred photo regions. It provides on metric for testing a lens. Other key metrics exist, such as color loss, acutance, and distortion. This blog will examine lenses and photographic equipment and provide analytical reviews based on empirical metrics. The result: lens grades from A to F in each metric and an overall lens grade. The purpose: To help you avoid what I've done many time -- buy a lens that's just not as good as it could be.

But why. Really, why do this? Photography, since the advent of digital imaging, has lost much of its difficulty and inaccessibility. This unavoidable change makes photography more accessible to more people. So this blog aims to help new and veteran photographers alike choose lenses well.

Of the most common reasons photographs turn out poorly, lenses are the second most common reason. The photographer being the first. Not all of us can have Zeiss T* or Canon L-series glass. I don't. But I do have a number of surprisingly good lenses that were as little as $3 and never more than $100. This blog will help you make an informed lens-purchase decision and evaluate various lenses' technical capabilities.

Lenses will be evaluated on and graded for:

Resolution
Bokeh and Depth of Field
Light Falloff
Acutance and Modular Transfer Function
Color Quality and Chromatic Aberration
Distortion
Noise

Inasmuch as can be done, grades will be compensated for digital imaging or scanning equipment. The idea being to evaluate all lenses as though they were used on the same camera.

I hope you enjoy the coming posts and encourage comments, criticisms, and feedback so long as its kept civil and informative.