As I posted yesterday, I'm going to try and do something with this blog this year. For my first post, I'm going to look at my photos from 22 December 2011 and discuss how I achieved various effects (not that the answer will typically be luck.) In terms of Photoshop, I will limit post processing to contrast balance and gamma (contrast) enhancement. Anything more intense will be noted. For this blog, we'll look at some photos from this album:https://picasaweb.google.com/102333270936007447976/SF122211
for this trip, I used a Pentax K1000, Tokina 28mm lens with a green filter, and Ilford PanF 50 ISO film. PanF 50 ISO is the slowest monochrome film available, meaning the exposure times are relatively long (up to 1/15th of a second in sunlight.) Since I don't typically carry a tripod, that meant holding my camera very still. This first shot, inside Westfield Mall, was a 1/4 or a 1/8 second exposure, hand-held, braced against a column.
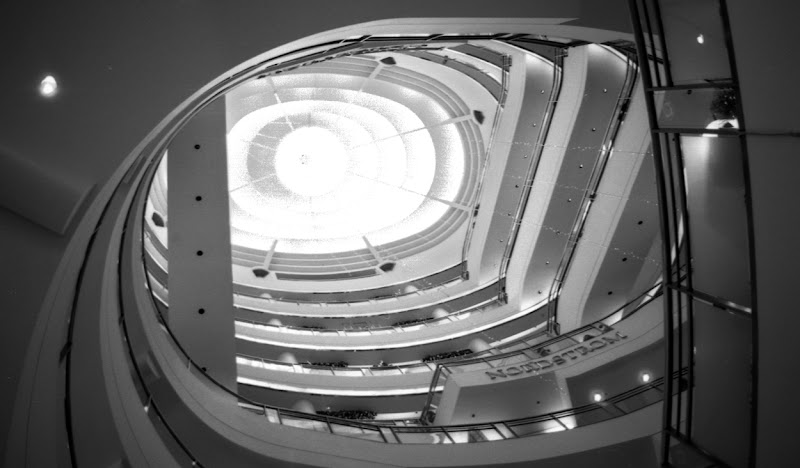
Ilford PanF 50 is a high-contrast film with little or no use forgiveness. Errors are amplified, but so too are photo qualities. This shot achieved a reasonable tonal balance despite the bright center and very shaded periphery. To enhance this shot, I used the magic wand grabber in the center (sensitivity 55) and feathered the grab at 65 pixels. I then pasted the grab and dropped the gamma to about .15. From there, I made the layer opacity about 55% to bring out some of the center areas tones. The grab was just the white oval in the middle, none of the levels.
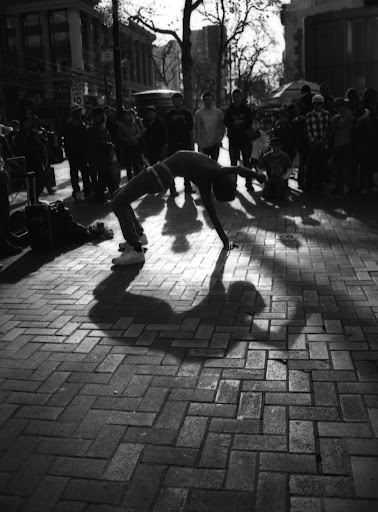
While in union Square, a contortionist troupe performed a series of hip-hip-ish moves that combined beautiful movement with grotesquery. Turning arms on the horizontal axis, shoulders that looked as though placed by blunt force, they twisted like bottle corkscrews. These shots were all wide open (f2.8) at either 1/30th or 1/60th of a second.
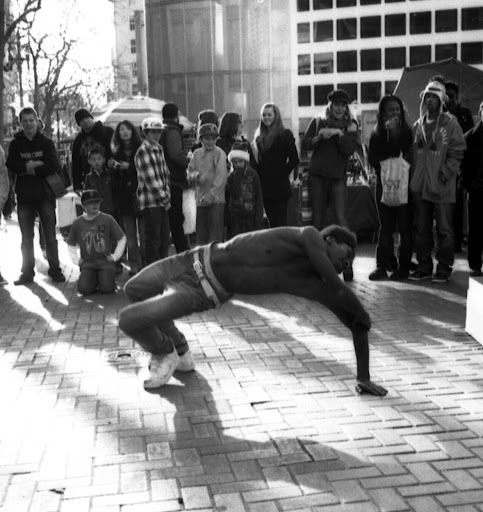
The green filter darkened this performer's hair, which was bright-cherry-red. In Photoshop, I added gamma to his torso to amplify muscle tone. The process was similar to that described above, but with 75% opacity.
A better vantage point would have been about 1.3 the circle counterclockwise to prevent the sun from throwing off the K1000's meter. A problem with wide-angle lenses, they accept more light than reaches the film plane, which affect through-the-lens metering. With ultra-wide-angle lenses, such as an 8mm or 10mm fisheye, photographers need to stop down the lenses up to two full stops to compensate for light affects on camera metering.
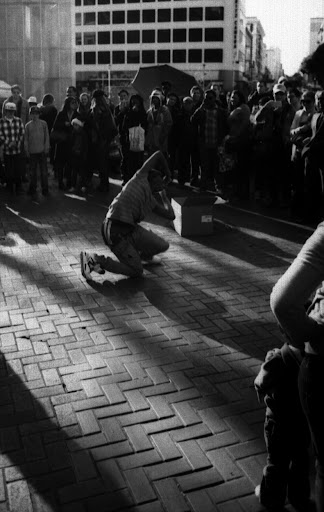
In addition to shots which worked, many of this roll's shots failed. The usable album (the link above), presents 12 photos. The roll, 27 exposures, yielded 15 failures not worth scanning and uploading. Some were salvageable, though, these next shots will show how to take failed exposures and return reasonable results.
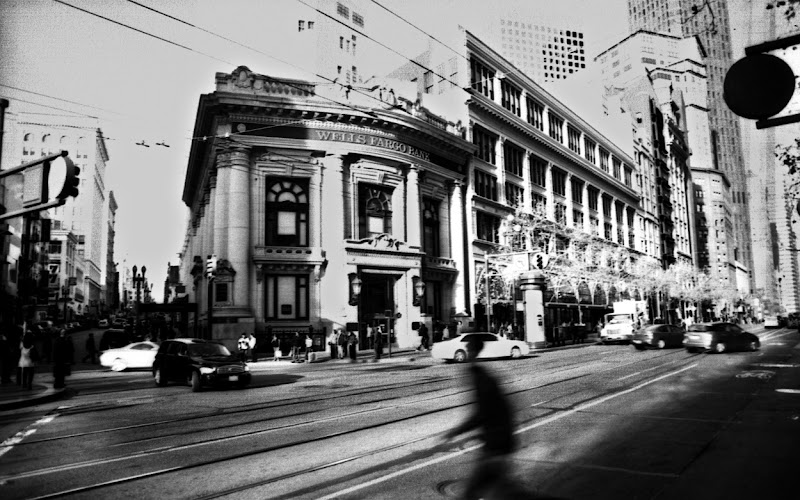
This shot was more than 60% washed out. The general grayness in the negative space (white area) indicates that the shot's overall exposure was dropped in Photoshop. In addition, three time I magic wanded the white space (sensitivity of 55) and feathered the margins (95 pixels, 65 pixels, 45 pixels) and pasted the new layer. Each time I dropped the gamma to .2 or .3 and the opacity to 45% or less. After each layer, I flattened the image to facilitate the repeated process. At the end, I did an auto contrast and called it a day. The result is not spectacular, though. Fortunately, it wasn't a very good shot anyway.
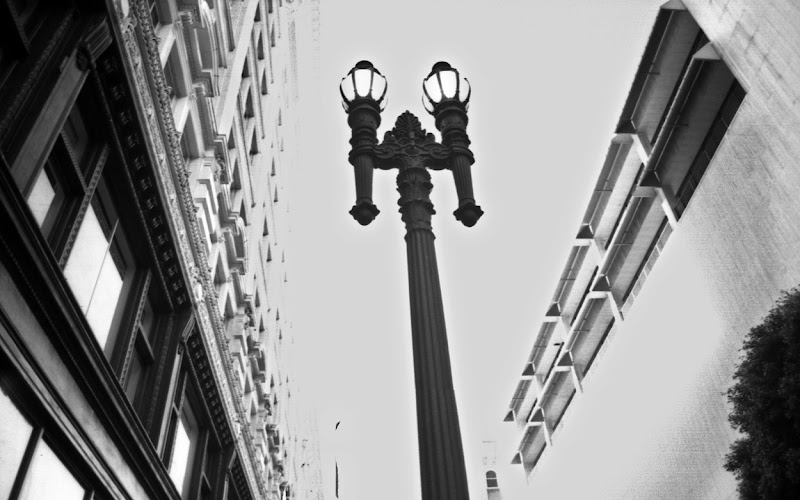
This shot had a few flaws. The whole shot was whitewashed like a picket fence, which required three or four gamma-drop layers. The light post was exceedingly dark, so I copied it (magic wand and feathering, as described) and increased the gamma significantly. Making the opacity 50% made the lamp post details pop pretty well.
An aesthetic decision, the lamp post had a no parking sign. I copied a segment from above, pasted it over the sign, and then did a free transform process to make it the same width and alter the skew slightly to keep the lines in parallel. If you look very closely, about 1/3rd of the way up the lamp post, you can see where the two layers met and don't match quite perfectly (check the right side.)
More to come soon!
No comments:
Post a Comment