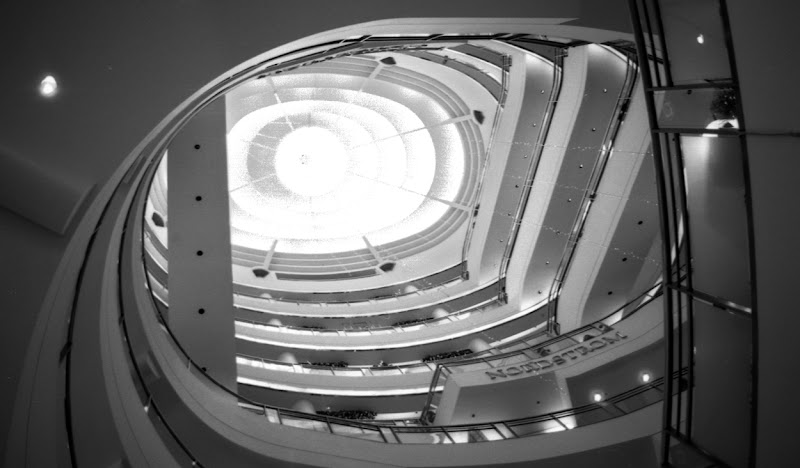
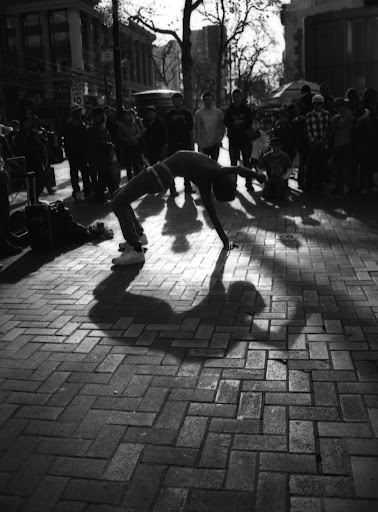
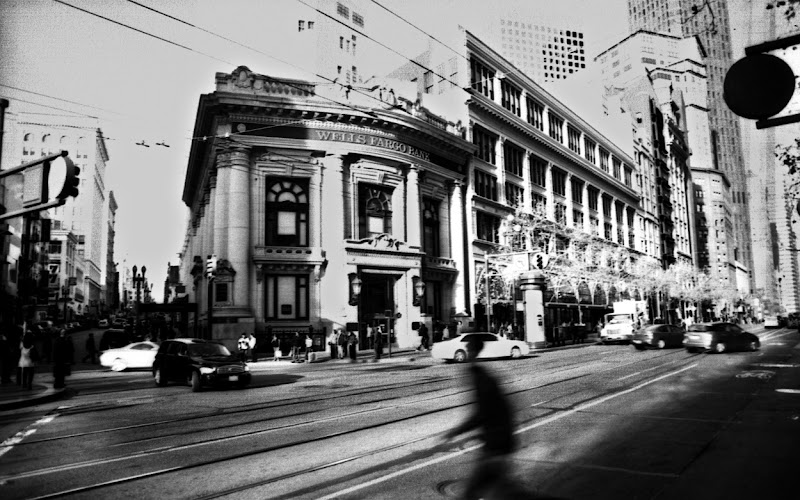
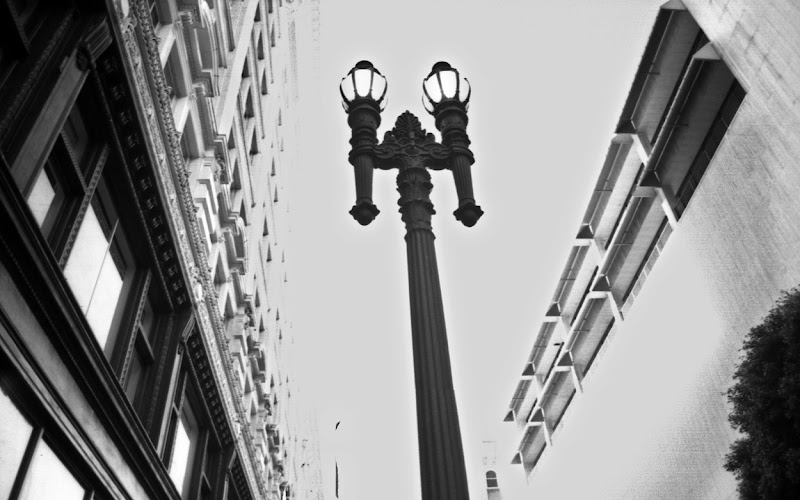
One of my favorite cameras is my Nikon F3. I got it for free on Craig's List along with a Tamron 28-200 zoom lens. I don't use the Tamron lens that often due to its weight and penchant for vignetting below 35mm, but it is a superior piece of glass. I had to unpack it at the airport one time because the x-ray machines couldn't see into it. But for this outing, part of the same trip I took to SOMA near Hayes Valley, I had my F3 and the Nikon 43-86mm zoom lens. I took four rolls of film, Foma 400 ISO, Foma 100 ISO, and two Fuji Superia 400 ISO rolls. The Fuji turned out alright, but the colors were off. These were the other two rolls processed at the same time as the Spotmatic rolls, in old chemicals. The ten shots below are the best from this trip.

This isn't the first time I've photographed these guys; these shots turned out better but are a bit less interesting than
last time. With the F3, I'm never entirely sure of the shutter speed because I have to keep it on automatic and the screen that tells me the shutter speed is dead. It felt like about 1/125th, though, as did most of these. Some may have been 1/60th and 1/30th. For aperture values, between 3.5 (mostly) and 5.6.
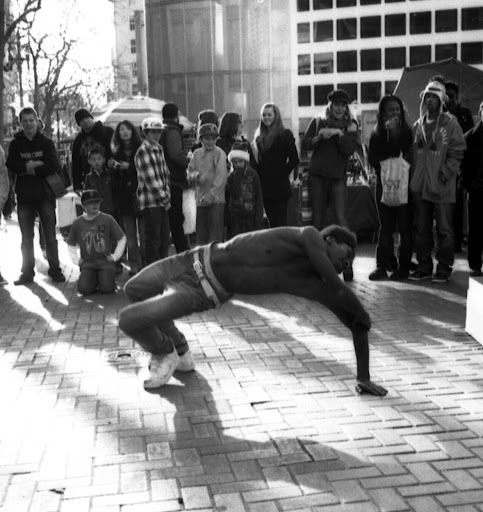
If you're ever in Union Square and see these guys, they're worth watching for a bit. They don't do hyper-athletic dancing, generally, but can bend into odd and strange positions.

If you checked out the other album, you'll notice that in those shots this guy's hair appears dark and uniform. It is, however, bright red. For the first album I had a green lens filter, this time a red. Filters warrant their own blog post some day, but for now let's discuss how they work in principle.
Filters can correct film deficiencies or cause specific effects. In fact, checking a film's visual spectrum will help you select a good filter to use. Foma, for instance, works brilliantly with yellow filter. This Foma had a red filter and performed well given the weather.
Filters work not by tinting everything a color but by removing certain light spectra. All visible light is either red, green, blue (RGB), or a mixture thereof. So placing a red filter on the camera allows more of the red spectrum through to the film, by percentage, and cuts the green and blue spectra. So a red filter is not a red additive filter but a green and blue cut filter. This results in red tones being lightened with green and blue tones being darkened. The green filter lightens green by cutting blue and red. So, this guy's hair appears blonde in these photos because the red filter artificially lightened it. In the earlier ones it appeared dark because the green filter artificially darkened it. More on how that works when I write a post dedicated to filters.

The weather on 12-30 in San Francisco presented substantial photographic challenges. Extremely overcast skies can ruin otherwise fine monochrome photos because they lack the shadows and color vibrancy otherwise present. Yes, I said color vibrancy. Black and white film sees color, just without all the colory-ness. I'll write a blog about how that works, too, but need to get some different film histograms, first.
The point of that is that many of these results are very grainy. Also, they could be grainy because the developer was nearing the end of its useful life. I did some photo editing on this shot. In the upper left corner I replicated the pavement to remove some peoples' legs. I found them distracting.

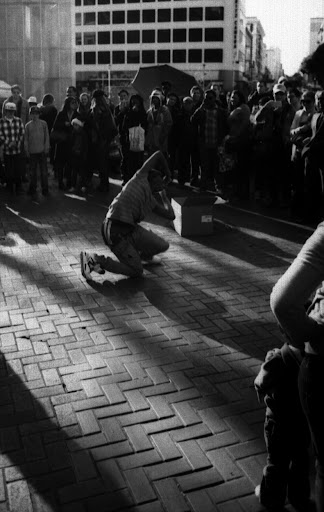
This is the last of the dancer/contortionist photos. I just like how it's framed, so I thought I would include it.

This guy is super friendly and plays cast iron pans pretty well and with a lot of enthusiasm. He also performs in Union Square. I suggest giving him a buck or two if you see him out there.
This was taken on Fuji Superia 400. I suspect the shutter speed was about 1/60th. However, my camera shake indicates that it could have been 1/30th. Either way, the aperture was f3.5.

After union Square I walked down Market to Battery to see the worker's statue. This is one of my favorite statues in San Francisco. The sculpture is interesting and the craftsmanship fantastic. However, none of the photos from that statue turned out well. I had 100 ISO film in the F3 then and all the shutter speeds were 1/15th or slower. So all the shots are blurry and shaky. After giving up on that, I walked north on Battery to the 307 building where this nifty bronze statue stands out front. I'm not sure what it's supposed to be, but I like it. I post-processed this to emphasize the bronze running from the eyes like tears. I accomplished that by darkening the dark areas to increase detail and depth (using the magic wand with an affinity of 32 and non-contiguous masking, followed by a feather of 35 or 45, layer pasting, and an offset increase of some amount.) Afterward, I did the same basic process on the 'tears' and increased the offset. For both pasted layers I dropped the transparency to 20% to hide the feathering and because the offset was fairly extreme in each direction.
This shot was 1/8th or 1/15th of a second with the camera braced and pressed against a building column for stability. It's never a good idea to carry a tripon unless one is absolutely needed. They're bulky, heavy, and a sign that someone has a camera worth stealing. In all those ways, they label you "VICTIM." In addition, some cities require a permit to photograph with a tripod and the fines can be hefty ($250 in New York, for instance) even if you're an amateur. So, for shots of 1/15th or faster, bring a walking stick with a tripod ball on the handle. This doubles as a monopod and provide some stability. Or, make sure you're aware of your surroundings and look or places to brace your camera -- such as a building wall, bench, or sign.

Just north of that statues about 50 feet is a staircase around a bronze globe. This is underneath that staircase. Braced against a concrete planter or seat thing, 1/4 second exposure or thereabouts.

Inside the Embarcadero center is an escalator I photographed before, but from off-center. Some lady was leaning against a pamphlet display thing and didn't see the need to move to let me take a picture. So, I decided being nearby that I would try again. This time, the guy who was at the display thing saw I was lining up a photo and waiting to read into the display until I was done. I needed the display thing to brace the photo since the exposure was at least 1/2 second. This shot was not that shot directly. For this I dropped the gamma and pasted the black areas on as a separate layer. I changed the black to dark blue, resulting in the black pixels over lighter pixel showing as blue. To the guy who let me take this photo, thank you. I'm pleased by the result.

After leaving the Embarcadero center, beaconed by the calls of parrots, I ended up in a park I didn't catch the name of. I had no lens for photographing parrots 35 feet up trees, but there was a statue commemorating the U.S. and South Korean peace something or another. This is one of the shots of that statue, a shot into the 'links.' This was taken at f11 with the camera braced against the sculpture. The exposure was about 1/2 second or longer.

For this last photo, I looked out the BART doors and saw the sun setting behind this BoA building. I hopped out, lined it up, and grabbed this shot. Hand-held at 1/30th, f4. I turned around, watched the BART doors close, and the train take off without me. That said, the shto was completely worth it. And fortunately I didn't leave anything on the train, either.