A Year in Photos

Photography, fiction, and personal essays form my three primary creative outlets. For this blog's first 18 months, I used it primarily for photography. As I've returned to creative writing, I'll use this blog for fiction, too. Sometimes, when reality needs to be discussed more than truth, I write personal essays.

This blog will continue to showcase as many above-average photos as I can muster. Hopefully my written work will be as good or better than the visual. Whichever drew you here -- photographs or fiction, I hope you enjoy both.
Showing posts with label Tokina 28mm. Show all posts

Thursday, February 28, 2013

Intermediate Macro Techniques: Which Lens is Best?


A comment on one of my YouTube videos spurred a debate with a friend: What type of lens works best for a reverse-mount macro? This video tests various lenses from 24mm to 200mm to see how well they magnify an Australian $2 coin. In fact, the video opens with a photo from the best performer. You may be surprised by the results. Some of the results certainly surprised me.

Reverse-mounting a lens for macro use is pretty simple, with an adapter. For about $5 (USD), you can pick up a new, bargain-basement reverse adapter ring on eBay. That can serve you pretty well for a LOT of macro work.

The lenses I used:
Nikon Nikkor-Q 200mm 1:4
Nikon Nikkor-Q 125mm 1:3.5
Nikon Nikkor-P 105mm 1:2.5 (this wasn't tested, unfortunately, due to a best filter ring.)
Canon 100mm 1:4 (1:1 macro) in FD mount
Sigma 50mm 1:2.8 (1:1 macro)
Takumar 50mm 1:1.4
Tokinal-EL 28mm 1:2.8
Canon 24mm 1:2.8 in FD mount
Nikon Nikkor Zoom 43-86mm 1:3.5
Nikon Series E 36-72mm 1:3.5

Thursday, June 14, 2012

K1000 Noir

I love my K1000. It was my first SLR and together we still work very well. I'm looking forward to sending it off for repair in September, though. I needs a good CLA and a meter calibration. You'll see that some of these shots were a bit over-exposed. The batteries may be a bit weak, too, though.

But the K1000 is a camera I know well and we work together as a fairly effective team, often. It's the simplest SLR that I know of and a reliable, well-built favorite. And with as well as I know this camera, it should be no surprise that I had a pretty good day with it.

1/60th, f5.6
The sculpture 'Annular Eclipse.'

1/60th, f8

1/125th, f2.8
"I'm coming to get you," said the fiberglass grime reaper, in a voice tht sounded of insulation inside a boat hull.

1/125th, f2.8
"Who, me?" asked the bystander. (That's actually me. I'm playing the role of The Bystander in today's play.)

1/30th, f8
"Uh, well, no. Not you by name. You don't work for this company we're here picketing, do you? Well then, no not you. Here's a flier."

I don't get much into labor and union disputes on this blog. I've gotten to hear about them at two of my three career employers, and they're politically charged and this is an art blog, not a politics blog. So, in short, I won't go into details about who was doing the picketing or who was being picketed. I also did not get the guys' card, so I can't help you order one of these.

This was one of those union street displays that the unions use to draw attention to firms that use less-expensive workers. The guy there explained how it's made and how popular it's been across the U.S., requiring that even more be made. If I remember correctly, there are now 30 of these grim reapers around the western U.S. for use in pickets and such. It turns out they originally made these of papier machet, and then one of the other unions liked it and asked for one, so they made a mold and began producing them in fiberglass. The mold, as you might imagine, has to be very complex due to the multiple pieces involved in each component. It's built around a steel frame, but the whole thing comes apart to fit inside a pickup truck bed.

1/1000th, f2.8

1/250th, f2.8
I dig this little Tokina a lot. This lens and my now-fungus-infested Nikon Tokina SZ-X 28-200 give me a great deal of respect for Tokina lenses. My only complaint about this lens is the dramatic light drop-off at the corners. This image is a bit cropped, so that effect isn't so obvious. Wait till the next few images for a better example.

1/60th, f5.6
This image shows, a little, the light drop-off at the corners. That happens with lenses, and wide-angles are very susceptible to it. Typically, that's not really an issue and with this lens it doesn't so much bother me.

This image also shows how incredibly sharp this lens it. Check out the glove's palm and all the cracks in the vinyl.

1/250th, f2.8

Typically, I like to end on a bright, cheery image that will make everyone's day better. Well, no dice this time. Here's a truly sad image that should make most people wail in dismay. I don't often title my pictures, but this one I call "She Ain't Pretty no More."

1/250th, f5.6

Thursday, March 1, 2012

Only Okay, K2

I've decided I do not much care for my Tokina-EL 28mm lens. It is VERY difficult to focus well and the images never seem quite as good as they do with my Vivitar or Focal 28mm lenses. Oddly, my Tokina SX-L, 28-200 is a fantastic lens at 28mm, so I suspect it has to do with overall lens quality. The little EL has a tiny front lens, maybe 26mm across, and that severely restricts the amount of light that comes through. So the lens does not have the best contrast profile, nor does it render colors as truly as other lenses. This translates into monochrome photography because muddled colors mean muddled contrast and muddled details.

That said, when this lens is on, it's SPOT on. But there's no middle ground and no room for error nor compromise.


1/500th, f5.6


1/1,000th, f2.8


1/500th, f11


1/500th, f11

Those last shots, taken while I hung out the side of a cable car, required almost no post processing and are basically straight out of the camera. They aren't great shots, but display what this lens can do when it's on. At f11, where this lens seems to be sharpest, it's very crisp with nice depth, good tone, and a great dispersion through the zones. This lens works quite well with TMax 400, when it' on. But this lens does not present highly usable results when it's open much wider than f5.6. This severely hampers the lens' ability to perform in diverse situations, too.

As for why lenses perform differently under different conditions, that requires its own, future post. Having just done two long posts this week about filters, I'll refrain from posting a third long post about light bending through glass and how apertures control sharpness as depth of field. Another week.

Sunday, December 25, 2011

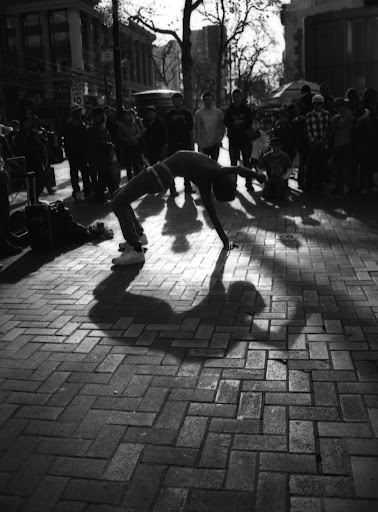
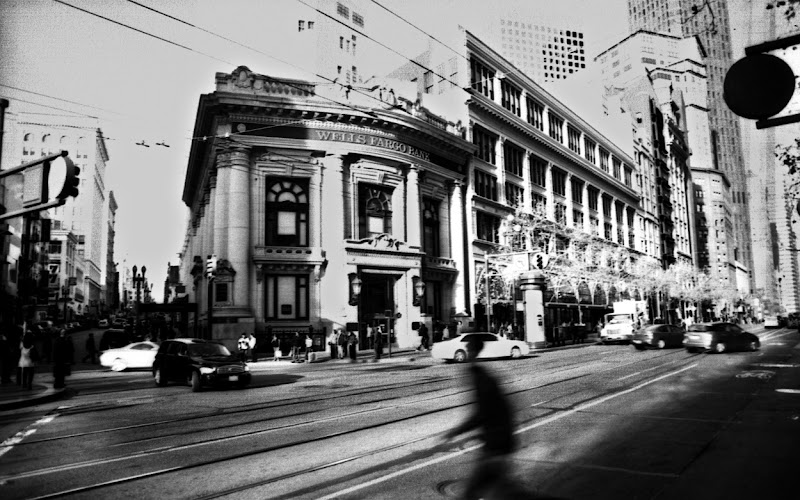
Union Square, San Francisco, 22 December 2011. Pentax K1000, Tokina 28mm, Ilford PanF 50 ISO

As I posted yesterday, I'm going to try and do something with this blog this year. For my first post, I'm going to look at my photos from 22 December 2011 and discuss how I achieved various effects (not that the answer will typically be luck.) In terms of Photoshop, I will limit post processing to contrast balance and gamma (contrast) enhancement. Anything more intense will be noted. For this blog, we'll look at some photos from this album:https://picasaweb.google.com/102333270936007447976/SF122211


for this trip, I used a Pentax K1000, Tokina 28mm lens with a green filter, and Ilford PanF 50 ISO film. PanF 50 ISO is the slowest monochrome film available, meaning the exposure times are relatively long (up to 1/15th of a second in sunlight.) Since I don't typically carry a tripod, that meant holding my camera very still. This first shot, inside Westfield Mall, was a 1/4 or a 1/8 second exposure, hand-held, braced against a column.
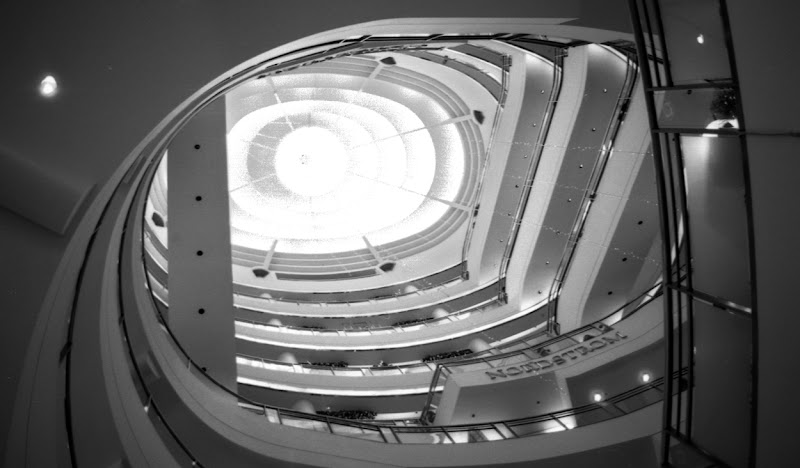
Ilford PanF 50 is a high-contrast film with little or no use forgiveness. Errors are amplified, but so too are photo qualities. This shot achieved a reasonable tonal balance despite the bright center and very shaded periphery. To enhance this shot, I used the magic wand grabber in the center (sensitivity 55) and feathered the grab at 65 pixels. I then pasted the grab and dropped the gamma to about .15. From there, I made the layer opacity about 55% to bring out some of the center areas tones. The grab was just the white oval in the middle, none of the levels.

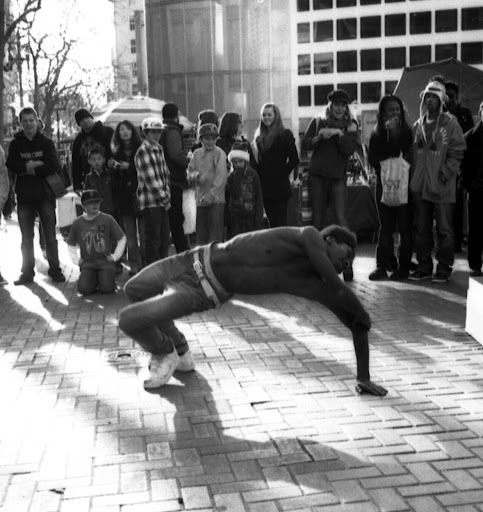
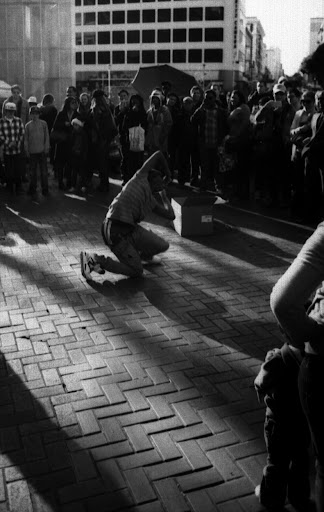
While in union Square, a contortionist troupe performed a series of hip-hip-ish moves that combined beautiful movement with grotesquery. Turning arms on the horizontal axis, shoulders that looked as though placed by blunt force, they twisted like bottle corkscrews. These shots were all wide open (f2.8) at either 1/30th or 1/60th of a second.

The green filter darkened this performer's hair, which was bright-cherry-red. In Photoshop, I added gamma to his torso to amplify muscle tone. The process was similar to that described above, but with 75% opacity.

A better vantage point would have been about 1.3 the circle counterclockwise to prevent the sun from throwing off the K1000's meter. A problem with wide-angle lenses, they accept more light than reaches the film plane, which affect through-the-lens metering. With ultra-wide-angle lenses, such as an 8mm or 10mm fisheye, photographers need to stop down the lenses up to two full stops to compensate for light affects on camera metering.

In addition to shots which worked, many of this roll's shots failed. The usable album (the link above), presents 12 photos. The roll, 27 exposures, yielded 15 failures not worth scanning and uploading. Some were salvageable, though, these next shots will show how to take failed exposures and return reasonable results.

This shot was more than 60% washed out. The general grayness in the negative space (white area) indicates that the shot's overall exposure was dropped in Photoshop. In addition, three time I magic wanded the white space (sensitivity of 55) and feathered the margins (95 pixels, 65 pixels, 45 pixels) and pasted the new layer. Each time I dropped the gamma to .2 or .3 and the opacity to 45% or less. After each layer, I flattened the image to facilitate the repeated process. At the end, I did an auto contrast and called it a day. The result is not spectacular, though. Fortunately, it wasn't a very good shot anyway.

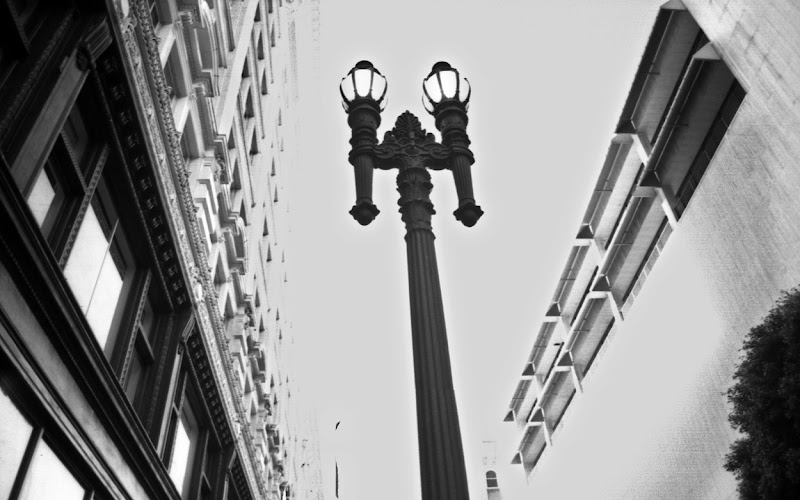
This shot had a few flaws. The whole shot was whitewashed like a picket fence, which required three or four gamma-drop layers. The light post was exceedingly dark, so I copied it (magic wand and feathering, as described) and increased the gamma significantly. Making the opacity 50% made the lamp post details pop pretty well.

An aesthetic decision, the lamp post had a no parking sign. I copied a segment from above, pasted it over the sign, and then did a free transform process to make it the same width and alter the skew slightly to keep the lines in parallel. If you look very closely, about 1/3rd of the way up the lamp post, you can see where the two layers met and don't match quite perfectly (check the right side.)

More to come soon!