A Year in Photos

Photography, fiction, and personal essays form my three primary creative outlets. For this blog's first 18 months, I used it primarily for photography. As I've returned to creative writing, I'll use this blog for fiction, too. Sometimes, when reality needs to be discussed more than truth, I write personal essays.

This blog will continue to showcase as many above-average photos as I can muster. Hopefully my written work will be as good or better than the visual. Whichever drew you here -- photographs or fiction, I hope you enjoy both.
Showing posts with label Studio. Show all posts

Thursday, February 28, 2013

Intermediate Macro Techniques: Which Lens is Best?


A comment on one of my YouTube videos spurred a debate with a friend: What type of lens works best for a reverse-mount macro? This video tests various lenses from 24mm to 200mm to see how well they magnify an Australian $2 coin. In fact, the video opens with a photo from the best performer. You may be surprised by the results. Some of the results certainly surprised me.

Reverse-mounting a lens for macro use is pretty simple, with an adapter. For about $5 (USD), you can pick up a new, bargain-basement reverse adapter ring on eBay. That can serve you pretty well for a LOT of macro work.

The lenses I used:
Nikon Nikkor-Q 200mm 1:4
Nikon Nikkor-Q 125mm 1:3.5
Nikon Nikkor-P 105mm 1:2.5 (this wasn't tested, unfortunately, due to a best filter ring.)
Canon 100mm 1:4 (1:1 macro) in FD mount
Sigma 50mm 1:2.8 (1:1 macro)
Takumar 50mm 1:1.4
Tokinal-EL 28mm 1:2.8
Canon 24mm 1:2.8 in FD mount
Nikon Nikkor Zoom 43-86mm 1:3.5
Nikon Series E 36-72mm 1:3.5

Friday, February 15, 2013

Back in Black: All Aflame

This week has seen some different types of photos. Today, however, we'll look at how multiple photos can be blended to result in various images. As I was photographing various objects, I had the idea to photograph a match in the process of ignition. Those images didn't work out so well -- just big flaming balls. But, lighting the matches at their base and photographing them as the flame moved upward and ignited the match head did yield some interesting results.

For this project you will need a fire extinguisher, black backdrop, wooden matches, and a tiny binder clip. Put a match in the binder clip and remove the silver arms. Then rest the binder clip on your surface. Using another match or a lighter, like the base of the match and use your camera's rapid-fire mode starting as the flame creeps up the match until after it's burned the match head down a bit. Then you'll have a series of images. Some creative layer blending in Photoshop will result in wild, multi-colored flames. Experiment with various blending for various effects. Then, with a multi-colored image, you have a wide array of monochrome conversion options.

Here are some single flame images.


In this second image, the match head is in greater focus as the match stick had not started curling away from the camera as the fire burned through the wood.


Here's a monochrome conversion of the above image. The only conversion options for the flame images as shot are yellow and red. This is fairly limiting, creatively.


Here is a multi-image stack. The match, always placed in the same spot with a tripod, makes stacking easy. Different blending modes make overlapping colors green, blue, black, or other colors. 


This image, a monochrome conversion of the above color image, demonstrates that the color flame images can provide a nice array of dramatic options.


This is the color image that led to the monochrome image I shared on Sunday night.


Note that going slider-happy with the monochrome conversion can lead to bad results. This result came about from modest slider adjustments, leading to a flame which looks much like glass.

Thursday, February 14, 2013

Back in Black: Dumptruck

So, my surface was really dusty. I know. I cleaned it between each subject, but that didn't seem to matter. I think that the plastic I used attracts dust well as it kept getting dog hairs on it. Even seconds after I would clean a whole bunch off. So, lesson learned, use a glass surface for reflection effects.


Here lightening the red and yellow evenly makes the whole truck looks like plastic, even the metal components.

Wednesday, February 13, 2013

Back in Black: Scallion

Scallion. Green onion. So, clearly not an alien, though I can't vouch for its origin before the grocery store. The first images in the pairs are the color, followed by the monochrome version.


This last one is actually two images layered and selectively blended. I focused on image on the front shoot and the second on the back. Then I opened the two images in Photoshop as layers and erased the blurry shoot from the top layer. This allowed the in-focus shoot below it to show through, making it look like I had really good depth of field on this.

Tuesday, February 12, 2013

Back in Black: Ganesha

My brother brought this Ganesha back from India for me some years ago. When I was doing the black on black assignment a few weeks ago, I picked this due to the few colors that could be manipulated for effect during monochrome conversion. Here is the photo I showed you on Sunday night:
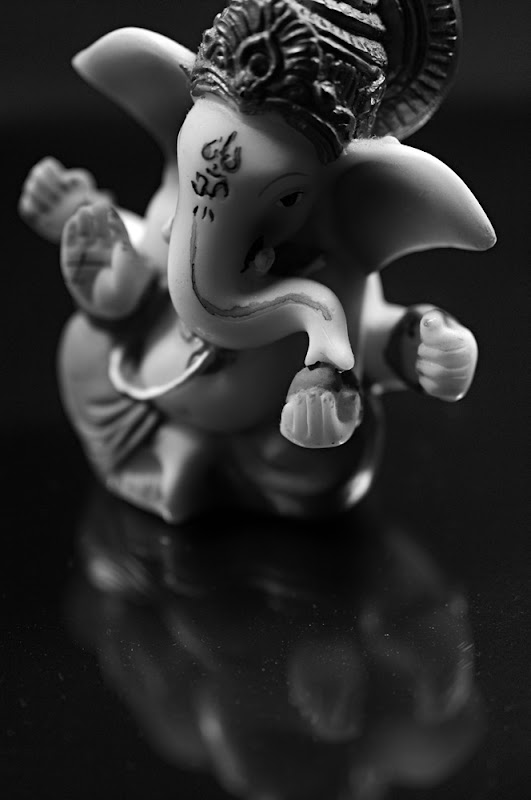

I was asked how I obtained the mirror-like reflection. Clearly, this isn't a mirror. And that's correct. It's dusty. The dust does drive me bonkers, but I was cleaning the acrylic every object or every other object! IT showed dust well.

For the base, I used a sheet (a bit smaller than standard U.S. letter paper) made of dark, translucent acrylic with a glossy finish. Also, it has a mirror backing. The plastic is about as dark as an ND2 filter with a slight tobacco tint. The result is very pleasing as a mirror if you want an instantaneous dark complexion.

The technical advantage of this surface is that both the mirror and acrylic reflect the image, guaranteeing reflection blur and, in some images, creating a slight doubling. The effect should be nice and not too overpowering.

To give you some ideas of how this works, here is another image, first in the original color and then in two monochrome iterations.


For this first image, I slid the red slider far toward darkness. This added deep shadows. In fact, the shadows are almost unpleasant in their perfection. The yellow slider I moved slightly right to add some contrast.


Here I moved the red slider uncomfortably far toward light and made the yellows slightly darker. This almost makes the netsuke appear internally illuminated.
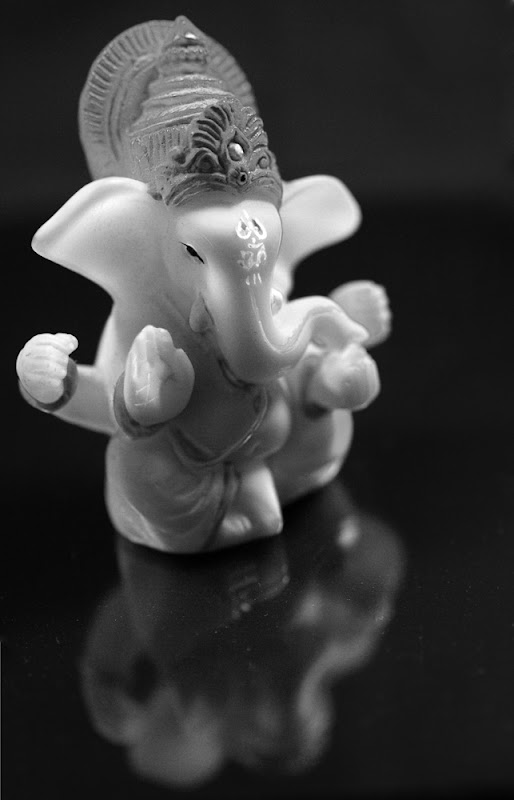
One advantage digital monochrome conversion affords photographers is the ability to creatively exaggerate monochrome effects. Neither of these effects could have been easily garnered with film and filters. Both took about 15 seconds (each) in Photoshop. So, that's a workflow improvement.

Tomorrow we'll look at this image, and some related ones:
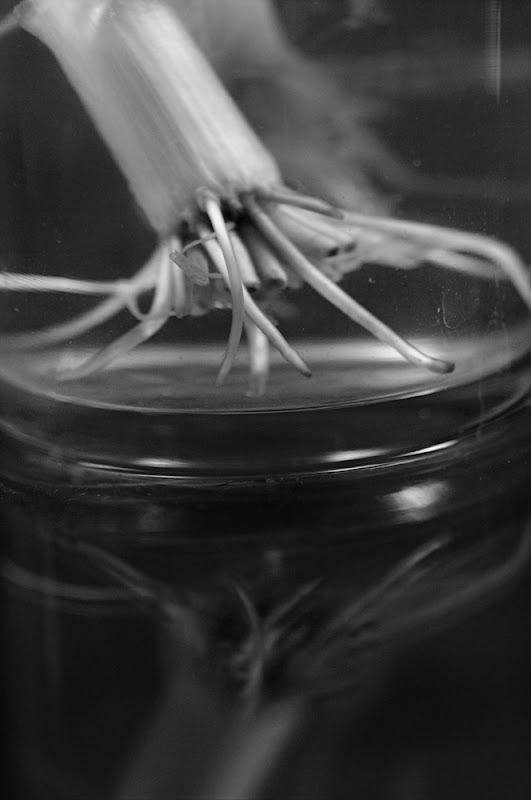
Is it an alien from Roswell? Did it escape from Area 51? Will it walk around, haunting your nightmares until you find out what it is tomorrow?

No, maybe, and maybe, in that order.

Monday, February 11, 2013

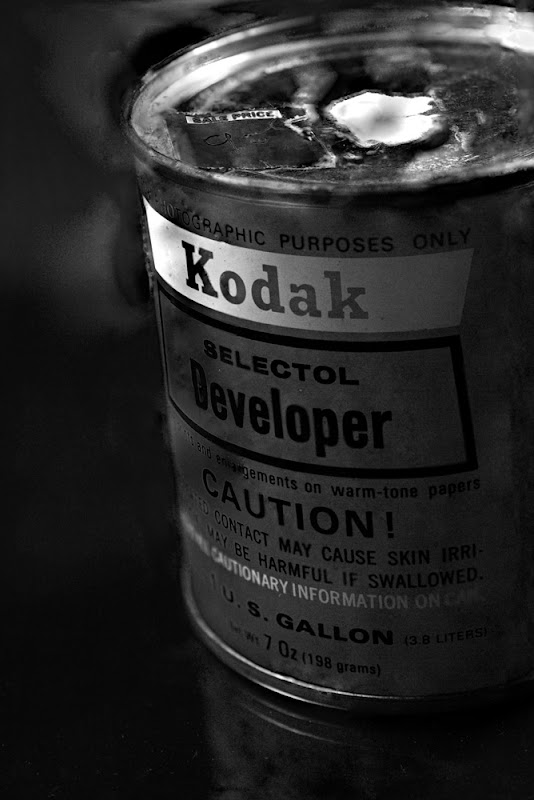
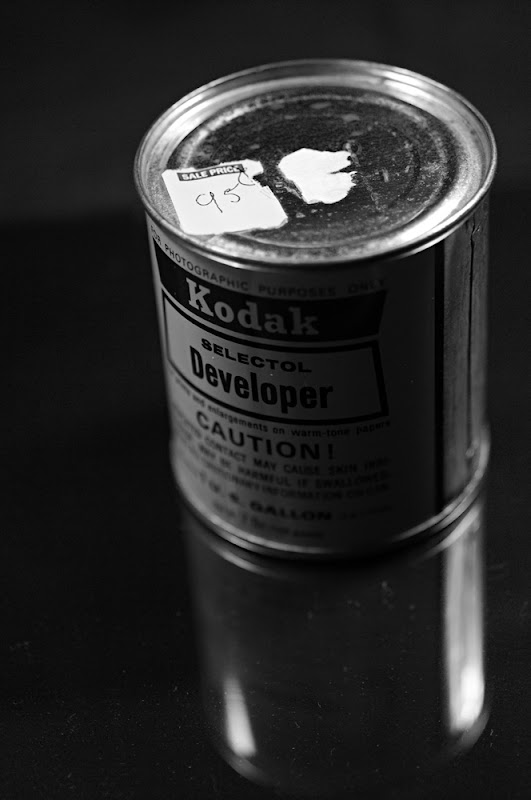
Back in Black: A Dingy Kodak Developer Can

This week's first image is this one:

That is one dingy old can of Selektol. So, today's fun fact: I don't just own old cameras. I own all kinds of old photo stuff. Some time this year, this can will be opened, mixed, and used, too.

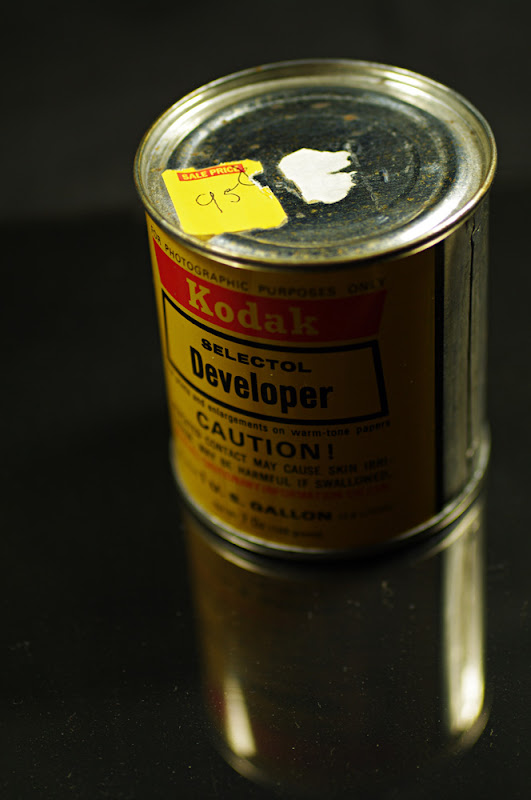
Look at that label, which looks like paper that's about to fall off the can. Stains, fingerprints, all kinds of nasty grime. What a mess. But, here's another image of that can:

It's not rally all that dingy. In fact, it's kinda clean-ish. And the label's painted on, not paper. So how did that messy effect in the firs image happen? It was a happy accident, actually.

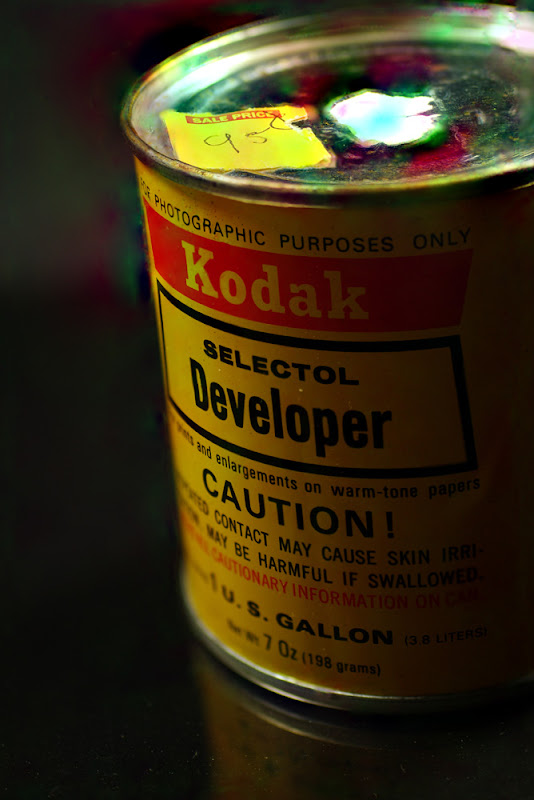
I layered two images on top of each other and then had the computer automatically blend them. The images didn't perfectly align, so here was the color result:

Pretty much useless for everything, right? Well, everything except monochrome conversion. Those red-green-violet mixing blobs can become image accents in monochrome. Basically, I just adjusted the sliders until I found a result I liked. That result was this (again):


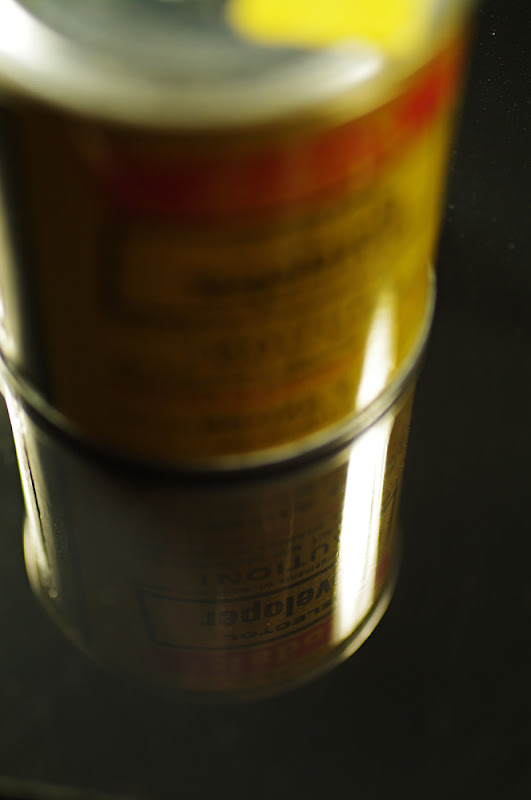
For fun, here are a couple more images of the Selectol can:


Tomorrow, we'll look at this photo and talk about how I arrived at it and other variations on this subject.


For a quick and basic tutorial on how to do monochrome conversion in Photoshop, check out my video on the topic.

Wednesday, June 20, 2012

Fireworks and Ice Water

Yesterday I shared some faux smoke shots from the Nikon F3. Here are some similar shots I took with my K-7 as backup. I used yellow, green, and red thread, which in monochrome rendered as different gray shades. Here, the smoke just looks odd-colored. It looked rather like fireworks.


Tuesday, June 19, 2012

These Chili Peppers are RED HOT!

I'm not really a studio photographer, but I decided to try some studio-type shots with my F3. The F3 is well made for this work with a shade to cover the eye piece I switched the lens from the Nikkor zoom to the 50mm 1:1.4, though, because the zoom's close focus distance was too far for my available space. I decided to try some long-exposure work -- twenty-second plus -- and work on multiple exposures and faux smoke. The multiple exposure shots all turned out poorly. The faux smoke shots turned out okay.

So if you'd like to achieve this effect -- only better than this first experiment, take a flashlight, tape a string or piece of tinsel onto it and, in the dark, move the flashlight over the camera. This should be a flashlight no bigger than a two AA-battery-size Maglite. The flashlight also needs to have an adjustable beam to achieve different effects.

Make sure your lens is CLEAN and your film washing and drying space DUST-FREE. On some images, I had to remove a number of white spots. On others, I didn't have to. On a few, I left the spots in place so you can see how important it is to have a clean setup for this. The white spots on my images are from dust that got on the emulsion during drying.


20 seconds, f11


8 seconds, f8


20 seconds, f11


20 seconds, f8


20 seconds, f11


I didn't record the polar bear exposures. But pretty soon, given global climate trends, this will be the only way to photograph polar bears -- plastic toys.