A Year in Photos

Photography, fiction, and personal essays form my three primary creative outlets. For this blog's first 18 months, I used it primarily for photography. As I've returned to creative writing, I'll use this blog for fiction, too. Sometimes, when reality needs to be discussed more than truth, I write personal essays.

This blog will continue to showcase as many above-average photos as I can muster. Hopefully my written work will be as good or better than the visual. Whichever drew you here -- photographs or fiction, I hope you enjoy both.

Sunday, March 10, 2013

A Year in Photos: Week Eleven

This week will feature five days of new photos from three different shoots. And, one of the shoots I haven't finished editing yet, so next week should see some more photos from that trip, although of different subjects. In addition, two weeks ago I managed to take six rolls of film and I have four more on my desk to develop, so long-and-short: I'll have photos to blog about for a few weeks.

Also, at the end of this month I'll be in Japan, so I may or may not be blogging then, but I will have photos.

This week will see three different trips: Davis, California; San Francisco, California; and Walnut Creek, California. The different trips also lent themselves to much different photography. All three had two things in common, though: The Pentax K-7 and my new lens. The new lens? A Pentax FA 31mm 1:1.8.

So, here is a preview of what's coming this week:


Thursday, March 7, 2013

Video: Polaroid SX-70 Model 2 and Sonar One-touch


In 1972 Polaroid introduced the SX-70 Land Camera -- the first instant film camera that simplified instant developing and kept the developer in the film instead of on peoples' hands. A modern favorite of hipster and retro enthusiasts, the Polaroid captures something most film cameras cannot -- that moment when people see a photo they just took develop, that moment when people bond over a recently-taken image as it materializes.

Capable of great artistic manipulation, the gelatin-based SX-70 film also opened creative techniques unique to this camera's film technology.

Some references:

An 11-minute video explaining how the SX-70 works.

How to modify your SX-70 for electronic flashes. Do this at your own risk. I'm neither vouching for nor condoning the information or process on this page.

Camerapedia is a great place to find great sources.

Wednesday, March 6, 2013

Video: Olympus OMG


To complement their professional camera system, Olympus released some of the most well designed and capable consumer-level cameras of the 1970s and 1980s. The OMG is a lightweight, very capable SLR that typifies the highly competitive innovation-driven camera market of its era.


If you'd like to watch the other video in this series, check out my YouTube channel. If you haven't subscribed to it, you can and you'll be notified when I have more great photography videos. Here's a link to my YouTube channel:

Tuesday, March 5, 2013

Video: Canon EOS Rebel G


Canon's EOS Rebel G succeeded the 500 as the entry-level EOS camera. Especially lightweight, this almost-entirely-plastic camera has far more features than typically found on entry-level models. Lightweight and user-friendly, this camera helped introduce many people to the EOS camera line.


If you'd like to watch the other video in this series, check out my YouTube channel. If you haven't subscribed to it, you can and you'll be notified when I have more great photography videos. Here's a link to my YouTube channel:

Monday, March 4, 2013

Video: Pentax H3


Asahi Optical Company introduced the H3 Pentax as the first M42 SLR with automatic aperture function. An entry-level camera, this camera featured the most basic camera functions with a nice interface. Easy and enjoyable to use, standard with Pentax cameras, the H3 was a popular model for entry-level shooters.


If you'd like to watch the other video in this series, check out my YouTube channel. If you haven't subscribed to it, you can and you'll be notified when I have more great photography videos. Here's a link to my YouTube channel:

Sunday, March 3, 2013

Video: Pentax 6X7


Pentax's professional system camera for more than 30 years -- the 6X7 and later 67 -- led the professional photography market with best-in-the-industry lenses, uncompromising image quality, and solid build quality. A consummate system camera with capabilities to photograph almost any assignment well, the 6X7's engineering still exceeds that of many modern professional film cameras.

The camera's DNA remained basically unchanged throughout the production run. The 67 was, inside, very similar to the 6X7. The 67ii changed the inner workings to an electromechanical design.

If you'd like to watch the other two videos in this series, check out my YouTube channel. If you haven't subscribed to it, you can and you'll be notified when I have more great photography videos. Here's a link to my YouTube channel:

A Year in Photos: Week Ten

This week I'll have some more videos about cameras to share. Next week, however, we'll return to photography with photos from the Wax Museum in San Francisco. Until then, here are some videos about some of my camera:

Monday: Pentax 6X7
Tuesday: Pentax H3
Wednesday: Canon EOS G
Thursday: Olympus OMG
Friday: Polaroid SX-70

Friday, March 1, 2013

Video: Rolleiflex Old Standard


My Old Standard's serial number, which will be worth noting for later, is 205212. The Old Standard Rolleiflex had three variants. The 620 was a 1:4.5 7.5cm Zeiss taking lens and 1:3.1 Heidoscop viewing lens. The 621 had a 1:3.8 7.5cm Zeiss taking lens and the same viewing lens. Both the 620 and 621 had the Compur T through 1/300th shutters. The 622 had the Zeiss 1:3.8 taking lens and same viewing lens but with a Compur T to 1/500th shutter. The 621 is the rarest with only 4,926 pieces made (January 1932 to January 1934.) The 621 had 38,248 pieces made (February 1932 to January 1935.) The 622 had 51,894 pieces made (November 1932 to May 1938.) The run began at serial number 200,000. So, assuming sequential numbering, 205,212 is a pretty low number.

In fact, on the underside of each Standard's mirror (at least the early ones) was a hand-written date with the day, month, and year of the camera's assembly. I learned this after I filmed the video, though. And I owe a LOT to the folks at www.Rolleiclub.com who helped me piece together this camera's age. The mirror was made on February 29, 1932. Yes -- 81 years ago today. So mine is indeed a VERY old Rolleiflex, dating from the first month the cameras were made.

Here are some other things that happened on February 29, 1932:
There was a failed coup by fascist the Lapua Movement in Finland.
William Murray declared his intention to run for President of the United States.
Racing driver Masten Gregory was born.
Mathematician Gene Golub was born.
Cartoonist Jaguar was born.
Baseball player Paul Giel was born.
Actor Tom Mix married circus performer Abel Ward (24 years his junior -- way to go Tom). Ms. Ward's notable accomplishment was setting the world record for 300 consecutive one-armed high bar revolutions without a net.
It was a Monday and everyone at the factory was a bit groggy, because it was Monday.

Franke & Heidecke built the Rolleiflex Standard from 1932 to 1938. The Standard gained the moniker "Old" in 1939 when Franke & Heidecke introduced the New Standard. Originally, they sold for $150 to $250. I suspect this model with the faster taking glass but slower shutter would have been around $200. $200 USD in 1932 had the same buying power as $2,849.45 USD does in 2012. That's more expensive than many full-frame DSLRs.

I picked this Standard up for $14, but the lenses were both so filthy I couldn't see through them. I couldn't even see if the shutter worked. After I cleaned the kitchen grease off the lenses and shoe polish off the leatherette, I had to take the top apart to clean the mirror and remove the front to re-attach the aperture control arm to the aperture level on the shutter. Not bad for someone who five hours before that had never used a TLR.

But, everything works and it takes some darn-fine images. Note that all those images were just tests, and my goal wasn't to take exciting photos, just ones that proved it works. TO show off the lens' quality a bit, I'll include some 100% image crops following some of the images.


Thursday, February 28, 2013

Intermediate Macro Techniques: Which Lens is Best?


A comment on one of my YouTube videos spurred a debate with a friend: What type of lens works best for a reverse-mount macro? This video tests various lenses from 24mm to 200mm to see how well they magnify an Australian $2 coin. In fact, the video opens with a photo from the best performer. You may be surprised by the results. Some of the results certainly surprised me.

Reverse-mounting a lens for macro use is pretty simple, with an adapter. For about $5 (USD), you can pick up a new, bargain-basement reverse adapter ring on eBay. That can serve you pretty well for a LOT of macro work.

The lenses I used:
Nikon Nikkor-Q 200mm 1:4
Nikon Nikkor-Q 125mm 1:3.5
Nikon Nikkor-P 105mm 1:2.5 (this wasn't tested, unfortunately, due to a best filter ring.)
Canon 100mm 1:4 (1:1 macro) in FD mount
Sigma 50mm 1:2.8 (1:1 macro)
Takumar 50mm 1:1.4
Tokinal-EL 28mm 1:2.8
Canon 24mm 1:2.8 in FD mount
Nikon Nikkor Zoom 43-86mm 1:3.5
Nikon Series E 36-72mm 1:3.5

Friday, February 15, 2013

Back in Black: All Aflame

This week has seen some different types of photos. Today, however, we'll look at how multiple photos can be blended to result in various images. As I was photographing various objects, I had the idea to photograph a match in the process of ignition. Those images didn't work out so well -- just big flaming balls. But, lighting the matches at their base and photographing them as the flame moved upward and ignited the match head did yield some interesting results.

For this project you will need a fire extinguisher, black backdrop, wooden matches, and a tiny binder clip. Put a match in the binder clip and remove the silver arms. Then rest the binder clip on your surface. Using another match or a lighter, like the base of the match and use your camera's rapid-fire mode starting as the flame creeps up the match until after it's burned the match head down a bit. Then you'll have a series of images. Some creative layer blending in Photoshop will result in wild, multi-colored flames. Experiment with various blending for various effects. Then, with a multi-colored image, you have a wide array of monochrome conversion options.

Here are some single flame images.


In this second image, the match head is in greater focus as the match stick had not started curling away from the camera as the fire burned through the wood.


Here's a monochrome conversion of the above image. The only conversion options for the flame images as shot are yellow and red. This is fairly limiting, creatively.


Here is a multi-image stack. The match, always placed in the same spot with a tripod, makes stacking easy. Different blending modes make overlapping colors green, blue, black, or other colors. 


This image, a monochrome conversion of the above color image, demonstrates that the color flame images can provide a nice array of dramatic options.


This is the color image that led to the monochrome image I shared on Sunday night.


Note that going slider-happy with the monochrome conversion can lead to bad results. This result came about from modest slider adjustments, leading to a flame which looks much like glass.

Thursday, February 14, 2013

Is Photoshopping a Crime?

A friend shared a link with me today:
Georgia Lawmaker Earnest Smith wants to make image photoshopping a crime.

Basically, Representative Smith is displeased that someone used a photo editing program to place his head on the body of a porn actor. For this post, I'll use the term "Photoshopping" in lieu of a more generic "photo manipulating."

I actively avoid political stuff on my blog, but this kind of nonsense is dangerous and totalitarian. So, like I hope many other people are doing tonight, I'm Photoshopping images of him and sharing them with everyone.

Image manipulation is expression. Let's establish that up front. In America, the Bill of Rights FIRST AMENDMENT guarantees freedom of speech (among other freedoms.) So to find out about that right, one need not read very far into the Bill of Rights. Further, the Universal Declaration of Human Rights recognizes that "[all people] shall have the right to freedom of expression; this right shall include freedom to seek, receive and impart information and ideas of all kinds, regardless of frontiers, either orally, in writing or in print, in the form of art, or through any other media of his choice."

So, I plan, tonight, to exercise my freedom of expression with my own Photoshopping contribution to Representative Smith's crusade to ban Photoshopped images as a form of free expression. A note on the sources images: everything I used in these comes from the public domain. Here are some of the links that I can remember:

Earnest Smith's photo at Ballotpedia
From that page: "This image comes from the http://www.legis.ga.gov/en-us/default.aspx website. It it used here because a Ballotpedia staffer requested and obtained permission to use it and was informed by the relevant government office or private entity or individual who created this image that the image is in the public domain."


Constitution image at PublicDomainFiles.com
The rights are in the website's name.

I also obtained the Statue of Liberty, American flag, and Bill of Rights images from PublicDomainFiles.com, but I haven't been able to find those links again. The Grumpy cat image may not be public domain, but everyone else is using it for Memes, so why not?

Here are my silly, low-effort Earnest Smith Photoshops. Each image is followed by a brief description of what the image is trying, artistically, to convey. Images fall under our freedom of expression, similar to our freedom of speech.


Obviously, the point of this image is to make a light-hearted jibe about Representative Smith being grumpy. Would he have been less grumpy if his face had been Photoshopped onto a gay porn actor? Probably not. And yes, that is a quote from Representative Smith.


This ought to be pretty self-explanatory. My point is that America is the Land of the Free. Free. You can't have FREEDOM without FREE. Durp. And, for the record, our freedom of speech comes from, i.q., full paragraph three above, the U.S. Bill of Rights First Amendment. First. Not, like, the 95th or something that would require a lot of reading to get to. Just sayin'...


I stole this idea from a photo I saw at PublicDomainFiles.com of an eagle head blended into an American flag. Ideas aren't copyrightable! Anyway, this is a bit of patriotic mockery intended to point out how unpatriotic the act of attacking Americans' rights is. No bones about it: dismantling the rights that have enabled this country to become the country we know it as is nothing shy of the antithesis of patriotism. The antithesis of patriotism in another word? Nationalism.

In this case, though, I suspect Representative Smith's intention is not nationalism, and this resulted simply from his sensibilities being offended by the nature of the image. Hence my avoidance of a prurient Photoshopping. No, I don't think anyone should be attacked in such a base manner. Instead, Photoshoppers, provide a legitimate commentary on a person's views through a more thoughtful expression. Sure we are free to simply slap a face on a porn star's body, but what does that say other than that someone using Photoshop is a tool and likely a decerebrate moron, too. But retaliating by attacking all American's rights, honestly, is not better. And, I submit, art cannot by definition be prurient.

Back in Black: Dumptruck

So, my surface was really dusty. I know. I cleaned it between each subject, but that didn't seem to matter. I think that the plastic I used attracts dust well as it kept getting dog hairs on it. Even seconds after I would clean a whole bunch off. So, lesson learned, use a glass surface for reflection effects.


Here lightening the red and yellow evenly makes the whole truck looks like plastic, even the metal components.

Wednesday, February 13, 2013

Back in Black: Scallion

Scallion. Green onion. So, clearly not an alien, though I can't vouch for its origin before the grocery store. The first images in the pairs are the color, followed by the monochrome version.


This last one is actually two images layered and selectively blended. I focused on image on the front shoot and the second on the back. Then I opened the two images in Photoshop as layers and erased the blurry shoot from the top layer. This allowed the in-focus shoot below it to show through, making it look like I had really good depth of field on this.

Tuesday, February 12, 2013

Back in Black: Ganesha

My brother brought this Ganesha back from India for me some years ago. When I was doing the black on black assignment a few weeks ago, I picked this due to the few colors that could be manipulated for effect during monochrome conversion. Here is the photo I showed you on Sunday night:
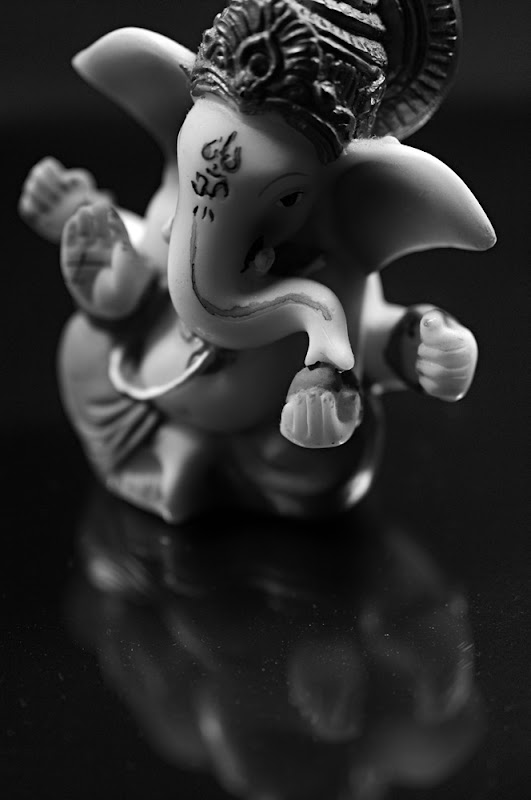

I was asked how I obtained the mirror-like reflection. Clearly, this isn't a mirror. And that's correct. It's dusty. The dust does drive me bonkers, but I was cleaning the acrylic every object or every other object! IT showed dust well.

For the base, I used a sheet (a bit smaller than standard U.S. letter paper) made of dark, translucent acrylic with a glossy finish. Also, it has a mirror backing. The plastic is about as dark as an ND2 filter with a slight tobacco tint. The result is very pleasing as a mirror if you want an instantaneous dark complexion.

The technical advantage of this surface is that both the mirror and acrylic reflect the image, guaranteeing reflection blur and, in some images, creating a slight doubling. The effect should be nice and not too overpowering.

To give you some ideas of how this works, here is another image, first in the original color and then in two monochrome iterations.


For this first image, I slid the red slider far toward darkness. This added deep shadows. In fact, the shadows are almost unpleasant in their perfection. The yellow slider I moved slightly right to add some contrast.


Here I moved the red slider uncomfortably far toward light and made the yellows slightly darker. This almost makes the netsuke appear internally illuminated.
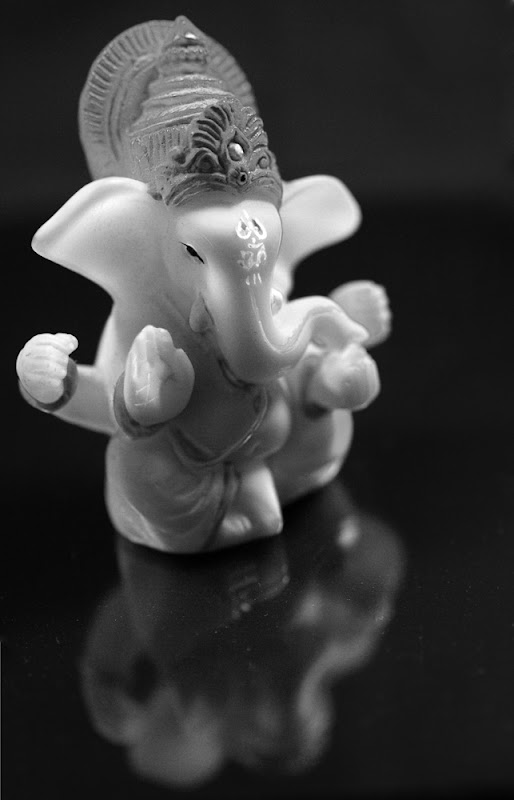
One advantage digital monochrome conversion affords photographers is the ability to creatively exaggerate monochrome effects. Neither of these effects could have been easily garnered with film and filters. Both took about 15 seconds (each) in Photoshop. So, that's a workflow improvement.

Tomorrow we'll look at this image, and some related ones:
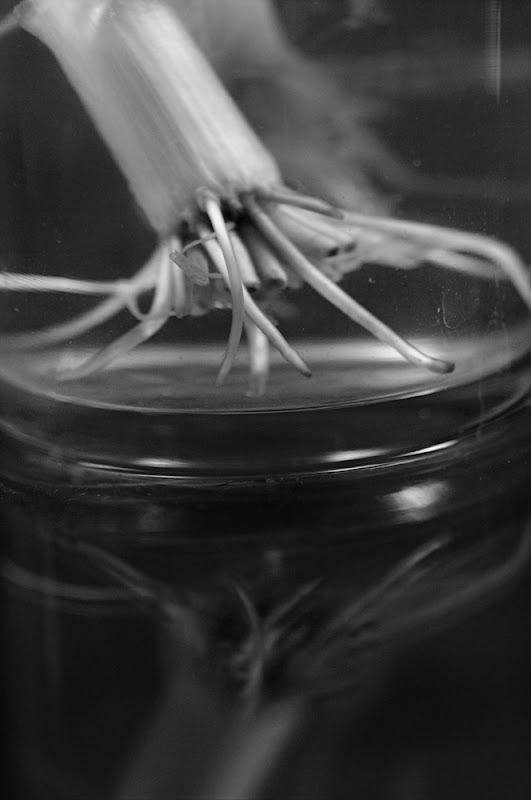
Is it an alien from Roswell? Did it escape from Area 51? Will it walk around, haunting your nightmares until you find out what it is tomorrow?

No, maybe, and maybe, in that order.

Monday, February 11, 2013

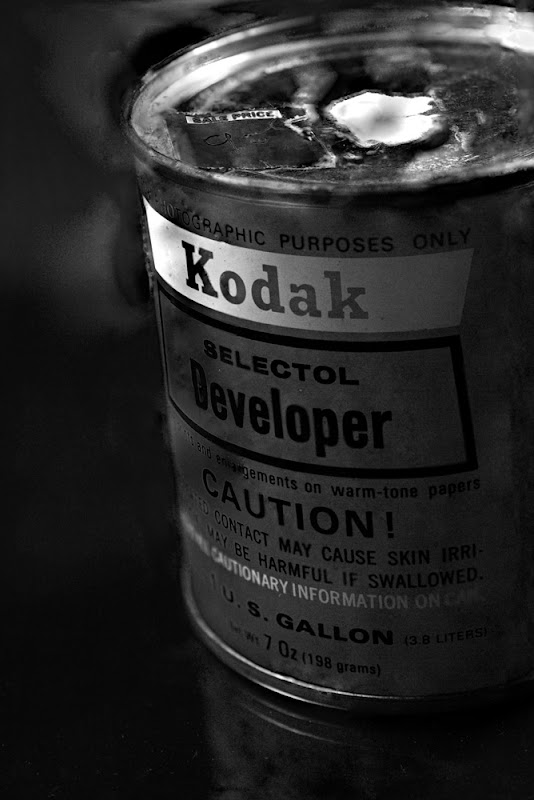
Back in Black: A Dingy Kodak Developer Can

This week's first image is this one:

That is one dingy old can of Selektol. So, today's fun fact: I don't just own old cameras. I own all kinds of old photo stuff. Some time this year, this can will be opened, mixed, and used, too.

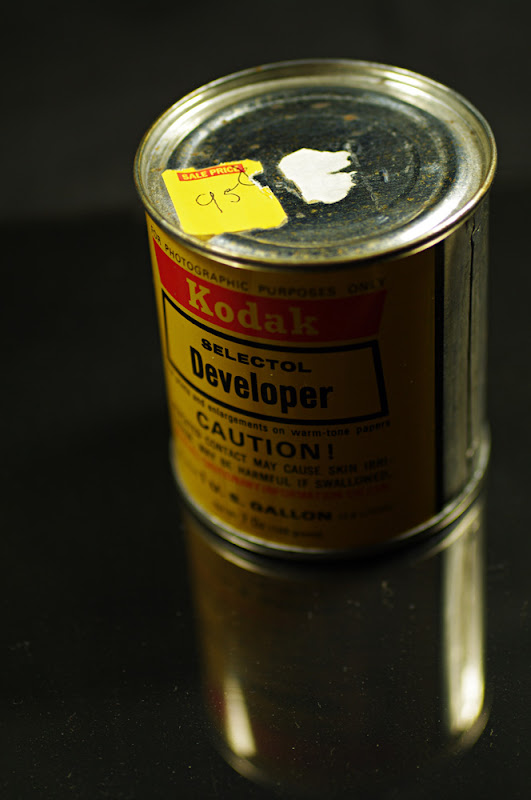
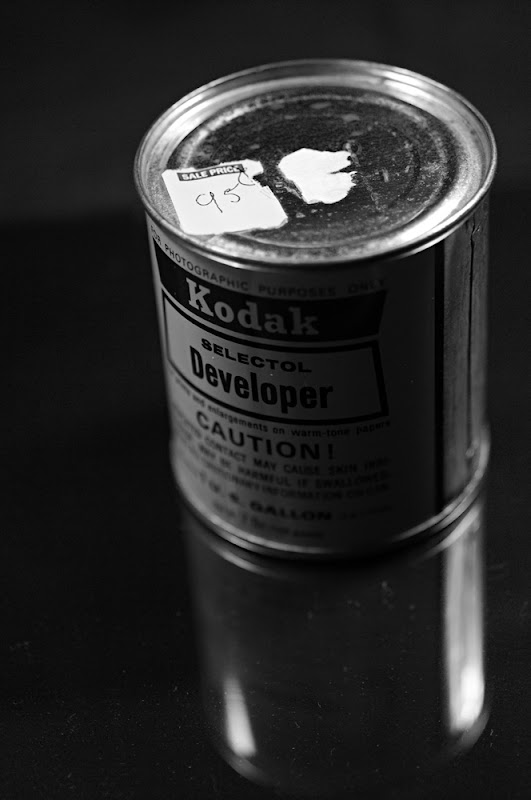
Look at that label, which looks like paper that's about to fall off the can. Stains, fingerprints, all kinds of nasty grime. What a mess. But, here's another image of that can:

It's not rally all that dingy. In fact, it's kinda clean-ish. And the label's painted on, not paper. So how did that messy effect in the firs image happen? It was a happy accident, actually.
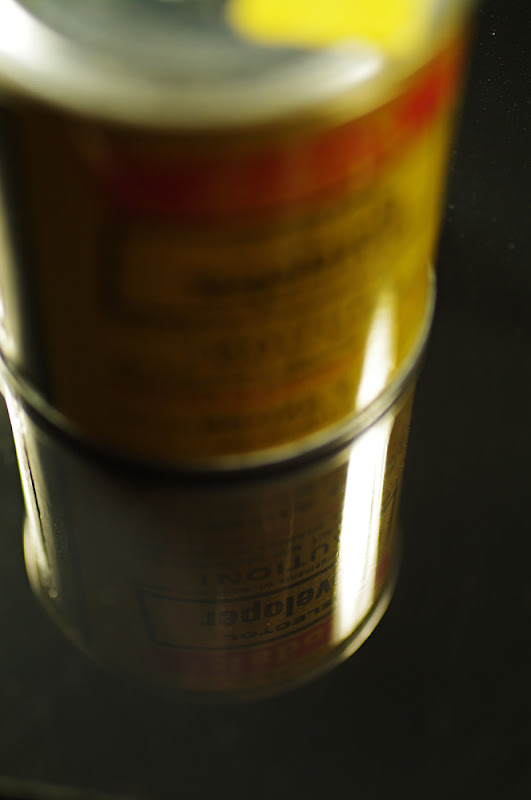
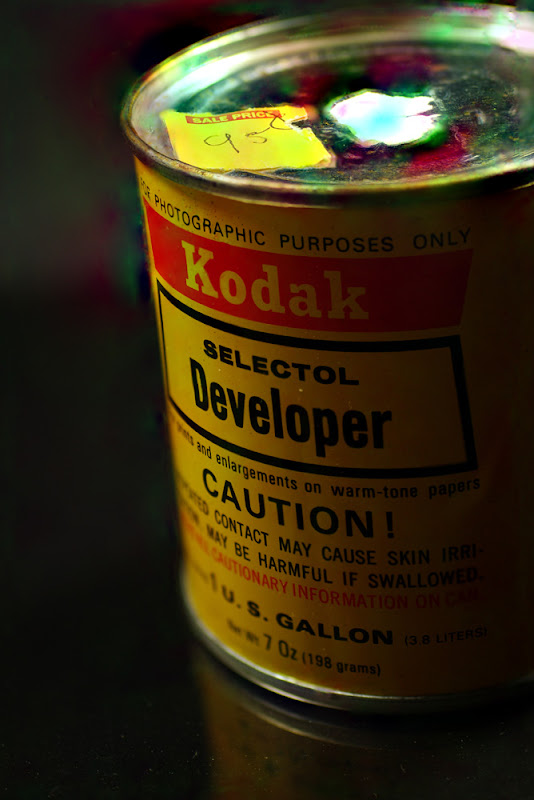
I layered two images on top of each other and then had the computer automatically blend them. The images didn't perfectly align, so here was the color result:

Pretty much useless for everything, right? Well, everything except monochrome conversion. Those red-green-violet mixing blobs can become image accents in monochrome. Basically, I just adjusted the sliders until I found a result I liked. That result was this (again):


For fun, here are a couple more images of the Selectol can:


Tomorrow, we'll look at this photo and talk about how I arrived at it and other variations on this subject.


For a quick and basic tutorial on how to do monochrome conversion in Photoshop, check out my video on the topic.

Sunday, February 10, 2013

Back in Black

This week will see a return to last year's format with photos every day. On Google+ I'm part of a private group that studies black and white photography and has weekly assignments. The other week we had an assignment to photograph objects in a perfectly black background. I had some issues with that, but still had some nifty results. This week we'll look at some results and I'll explain how I arrived at them. Here's a sample of some of what's coming.


All of these were taken on my Pentax K-7 with the Sigma 50mm 1:1 macro lens. Each post this week will explain the image and how I arrived at it, as well as providing the original color image.

Monday, February 4, 2013

Introduction to the Canon AE-1: Video 1 of 2

Canon's AE-1 35mm film SLR introduced many people to photography. This compact, light camera offered a substantial feature array at a competitive, entry-level price.

Canon achieved this price through the AE-1's computer-designed modular structure, computer designs that reduced the parts required by about 300 pieces, and plastic body and operational components. The construction has led to this camera having a considerable usable life, but the plastic components wear more easily than metal and can break in less time.

The first-ever CPU-controlled camera, the AE-1 features automatic exposure (hence the name AE) and metering that took between 0.001 and 0.04 seconds, depending on available light.